 29-MAY-2012 I started the work on LIBERTY BELLE on May 24, 2012 and finished on the 28th. Ever since I filed comics and graphic novels at Comic Fusion and spotted this character, I fell in love with her costume. For a while I had it on my “wish list” of characters to create for myself. I had removed it when my I had to severely cut back on traveling to conventions. Characters like LIBERTY BELLE and her daughter JESSE QUICK work really well for large conventions where you don’t want to be caught as yet another Wonder Woman. They loan themselves well as group cosplay characters too whereas a character like Wonder Woman or Catwoman can stand on her own.
 So there was with this love for LIBERTY BELLE lasting years and yet I never had the gumption to create the suit. There are also variations in the suit and the person wearing it as well. A common version is where her pants are cavalry trousers which was common in WWII era military designs, particularly popular with General Patton. Somewhere in LB’s history, artists started slimming down the pants to have that classic “tights” look. Then she went back to trousers.
As I posted work-in-progress pictures on Facebook, people kept confusing this LIBERTY BELLE aka “Libby” with the new Liberty Belle, her daughter Jesse who took up the mantle. Libby didn’t have a speed formula. She did have some super speed and super strength though.
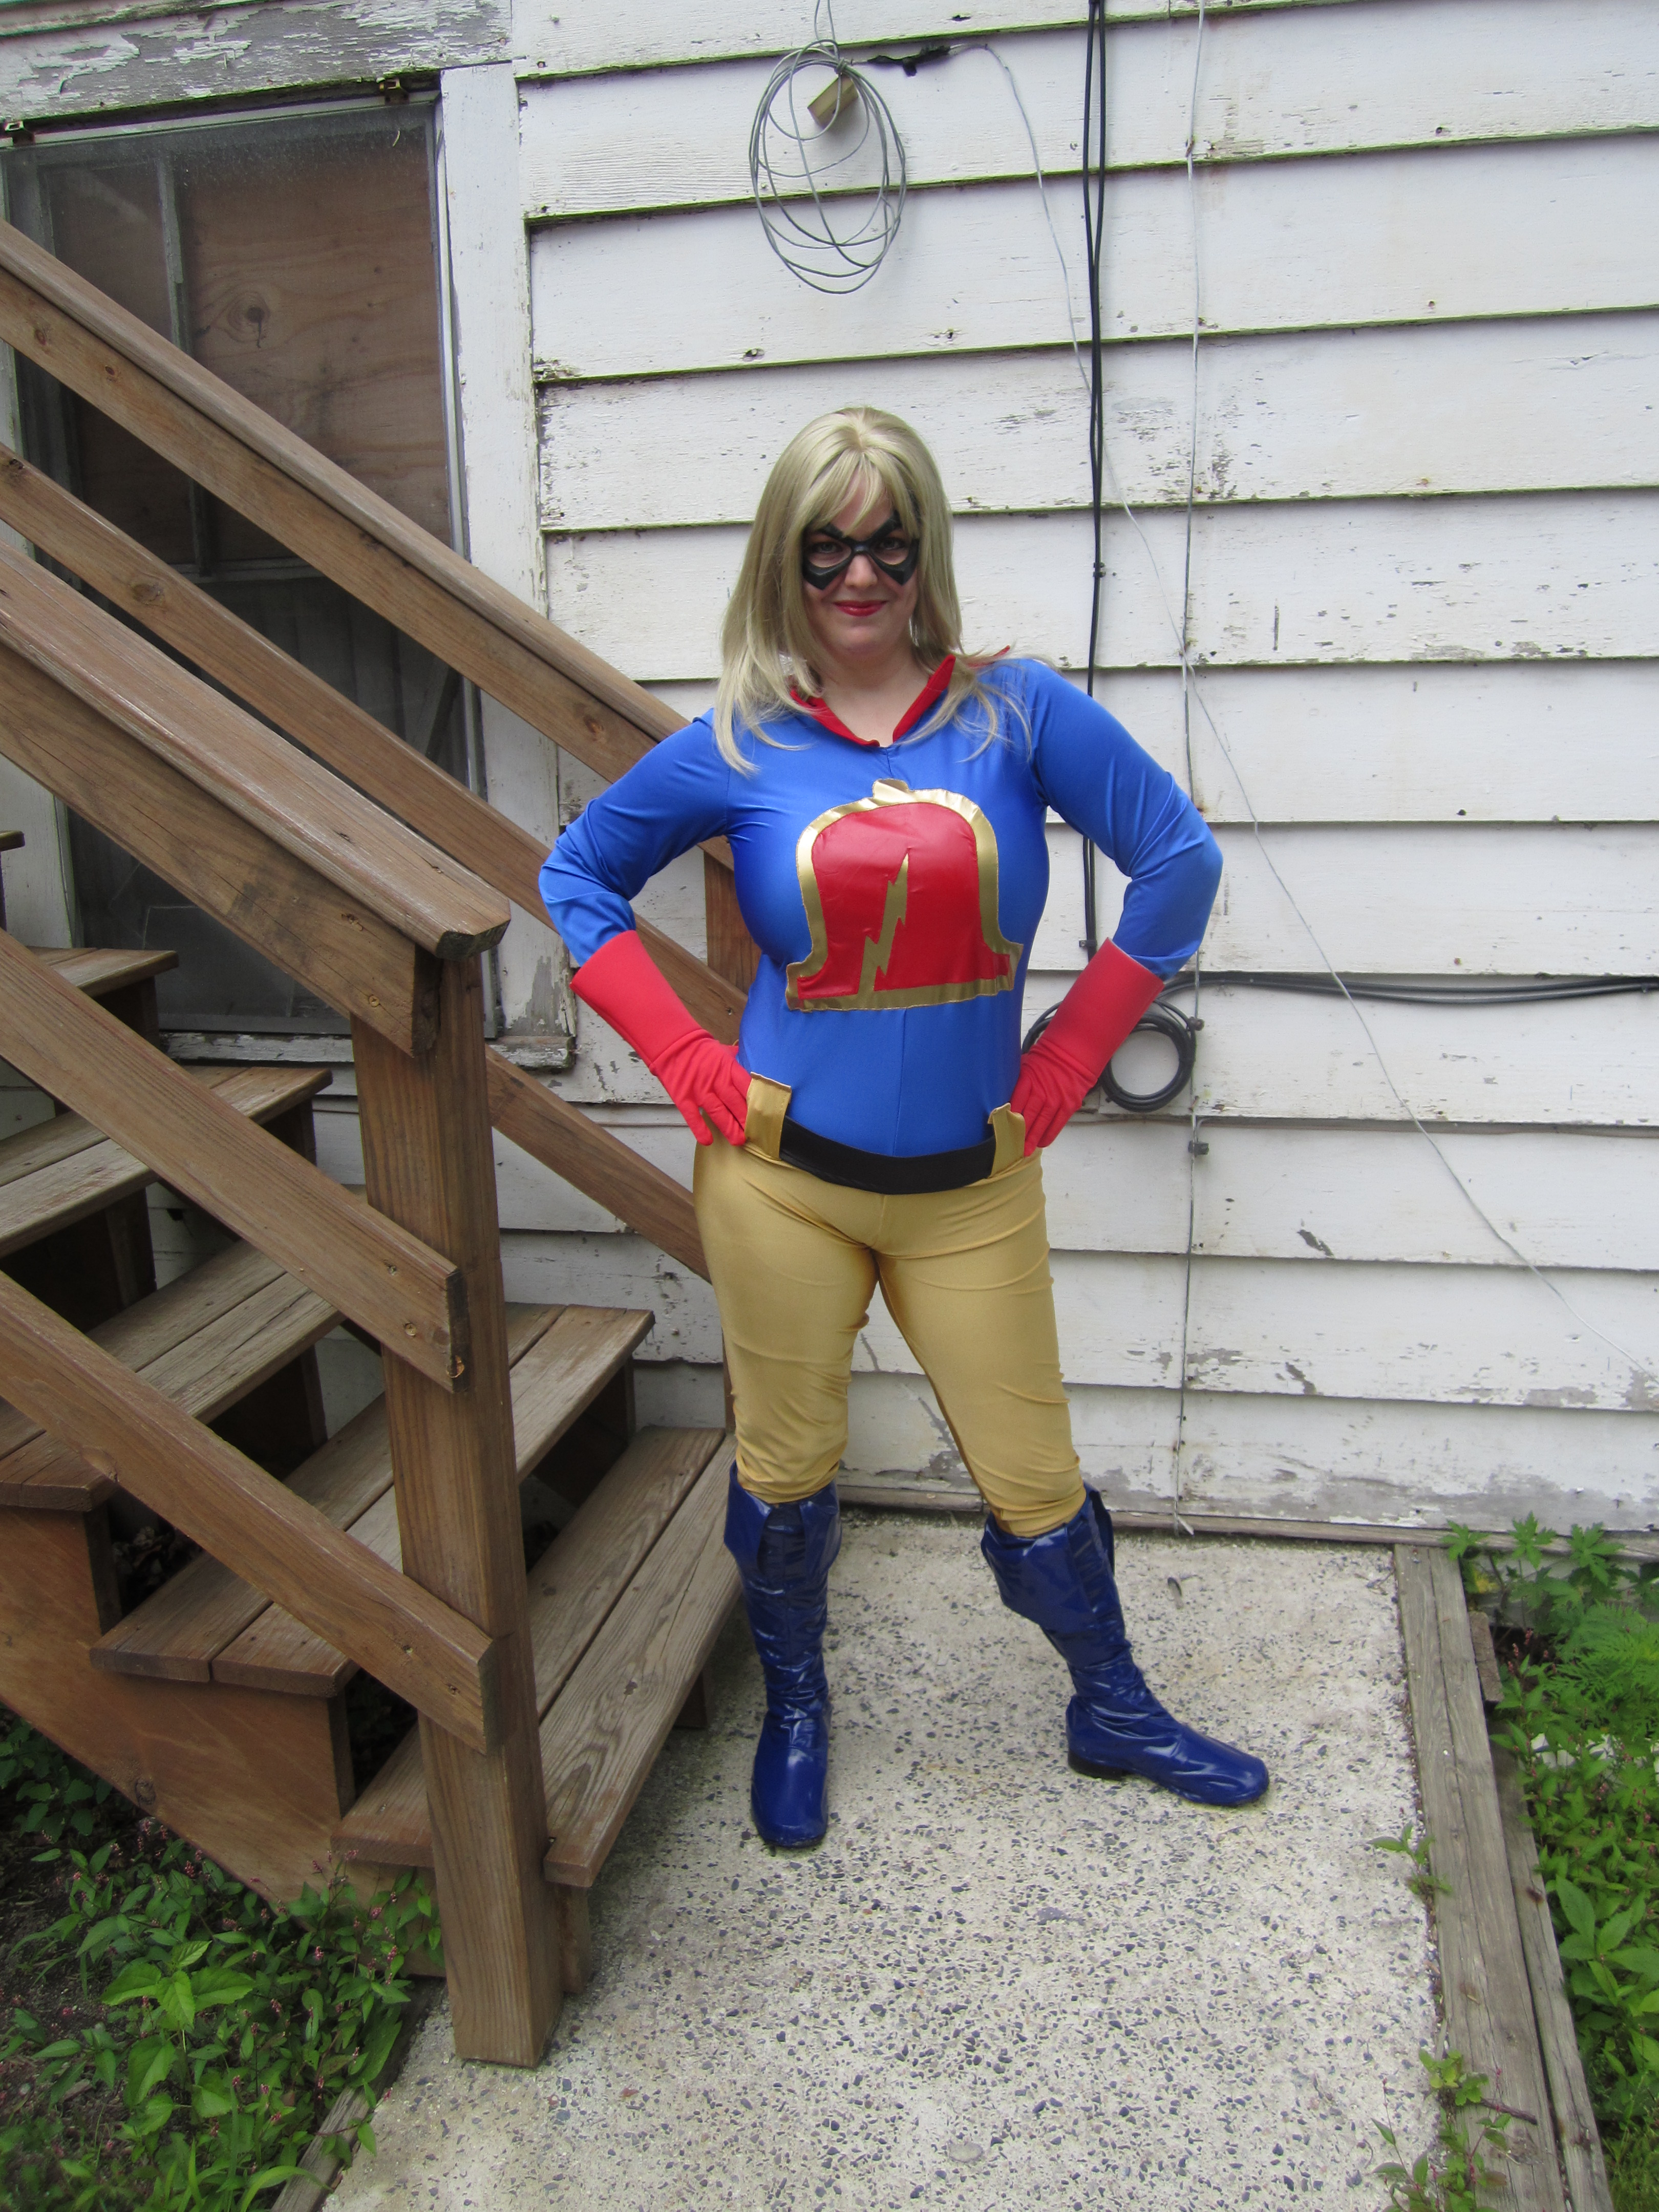
 If I ever wear the costume rather than sell it, I think the Ms. Marvel mask I have would work just fine. I have my old Power Girl boots too. The gloves are $10 Captain America children’s size gloves from Party City. Have I mentioned how much I hate making gloves? Yes, all the time. I know. I’m a broken record about gloves. I’m pretty sure I’ll only put the suit on for photos and sell it on etsy.
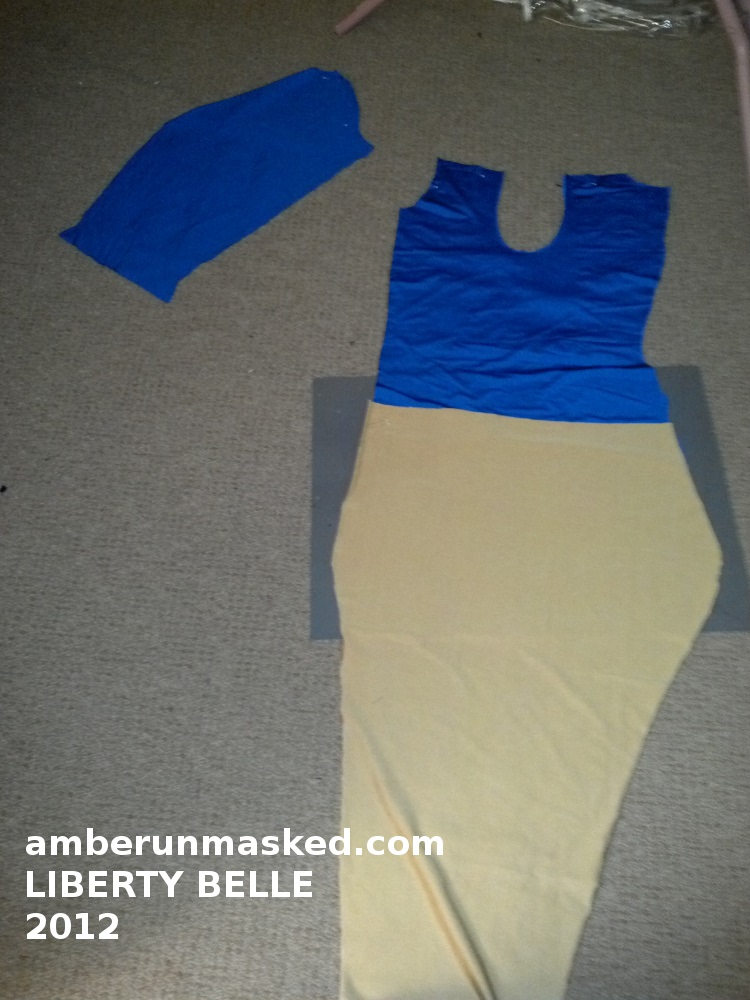
I had to make some interesting decisions on this pattern. There was only 1 yard of gold for the bottoms. I knew from experience that the leggings pattern is really low riding on me so I added a couple inches to the height of the back waistline; I made sure to add extra length to the blue top.
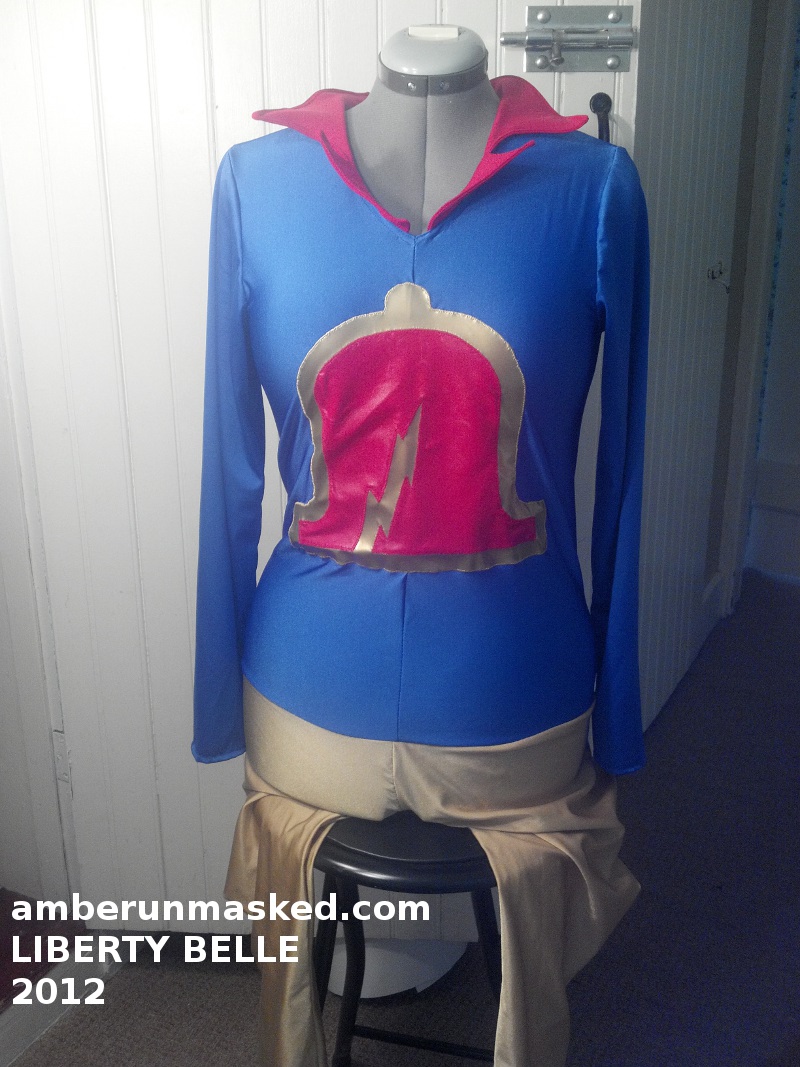
Tested the neckline on the dress form.
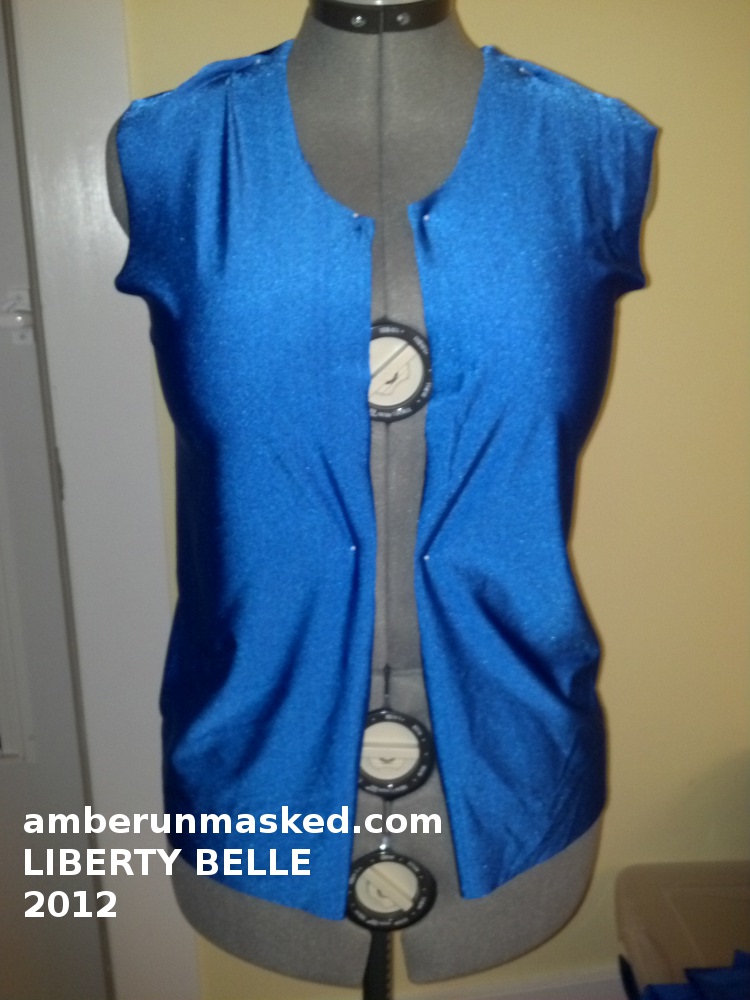
Basted the inseam of leggings and the front to back seam at center; basted the top’s center seam and only a couple inches in the back because a zipper would go there.

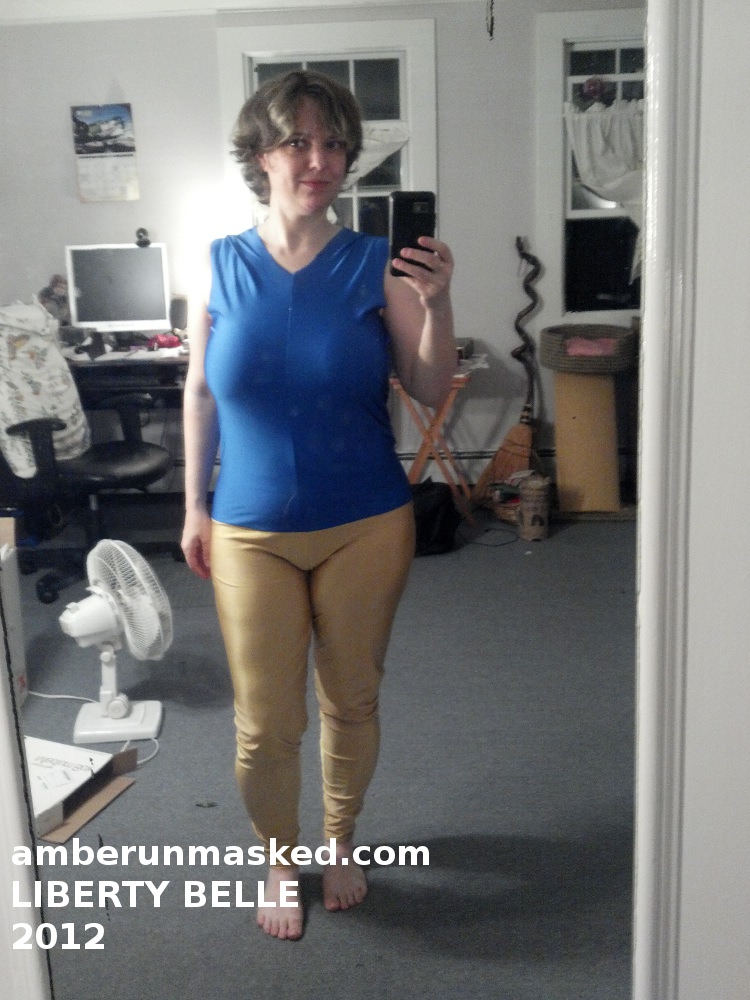
I had to see exactly how low the leggings had come out. Pretty darn low. I thought of a solution to give the illusion the pants are higher than they actually are.

Went over all the seams with overlocking stitches; assembled the sleeves and installed them.
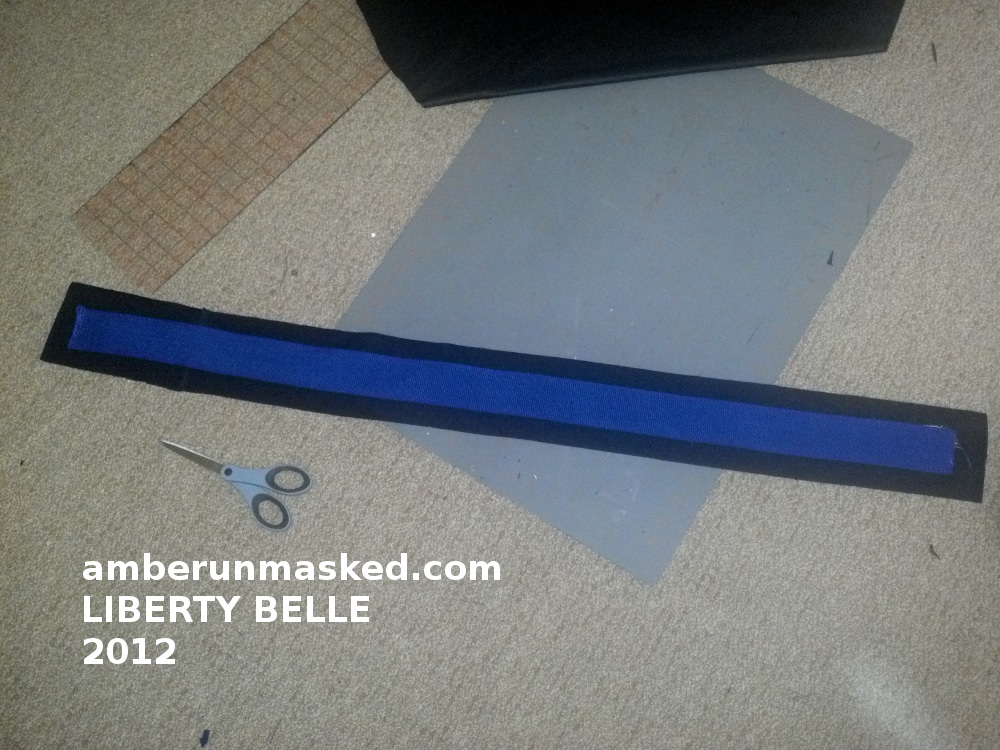
My illusion would be to make a belt that hides where the gold is lacking. This is 39 inches of webbing. One side is backed in double stick carpet tape and laid to the back side of a strip of matte metallic black spandex.
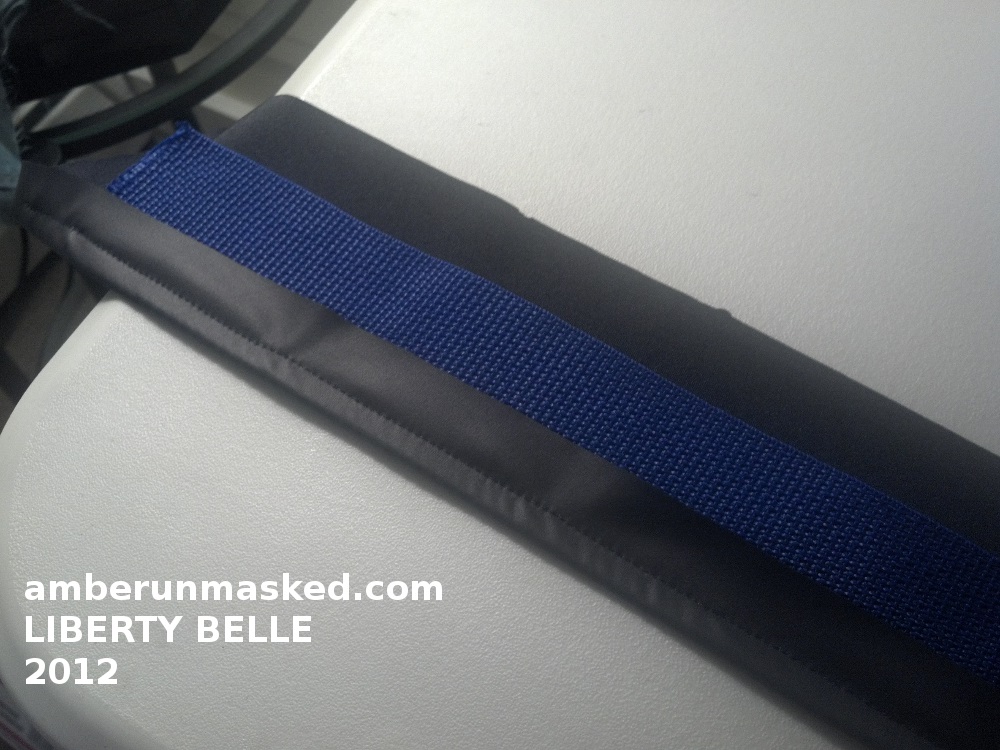
The spandex was pulled over the back of the webbing and stitched into place, carefully adjusting so that the foot didn’t pull the spandex and make it distorted.
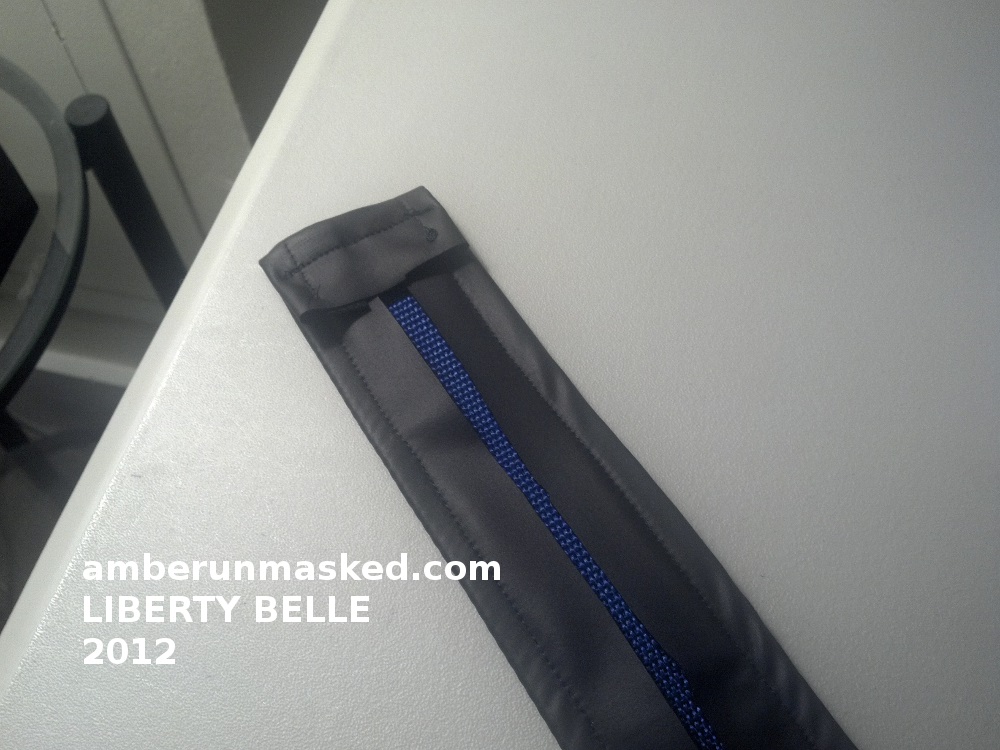
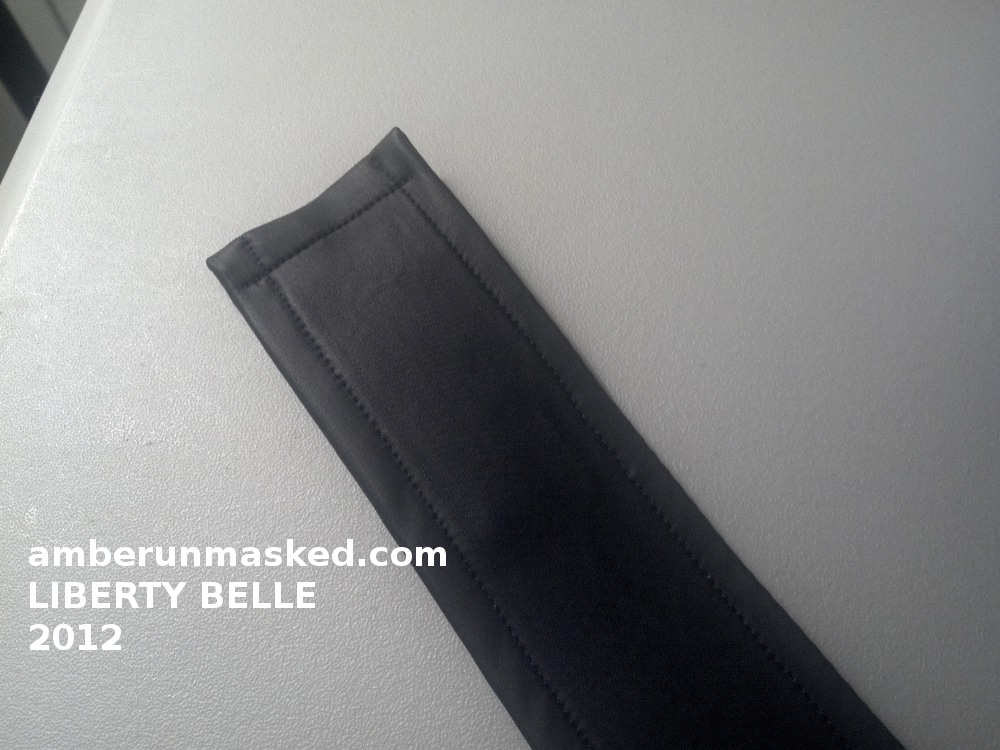
The ends of the belt were folded over and stitched. Industrial velcro was put on the ends for closure.
A look at the belt’s stitching from the front.
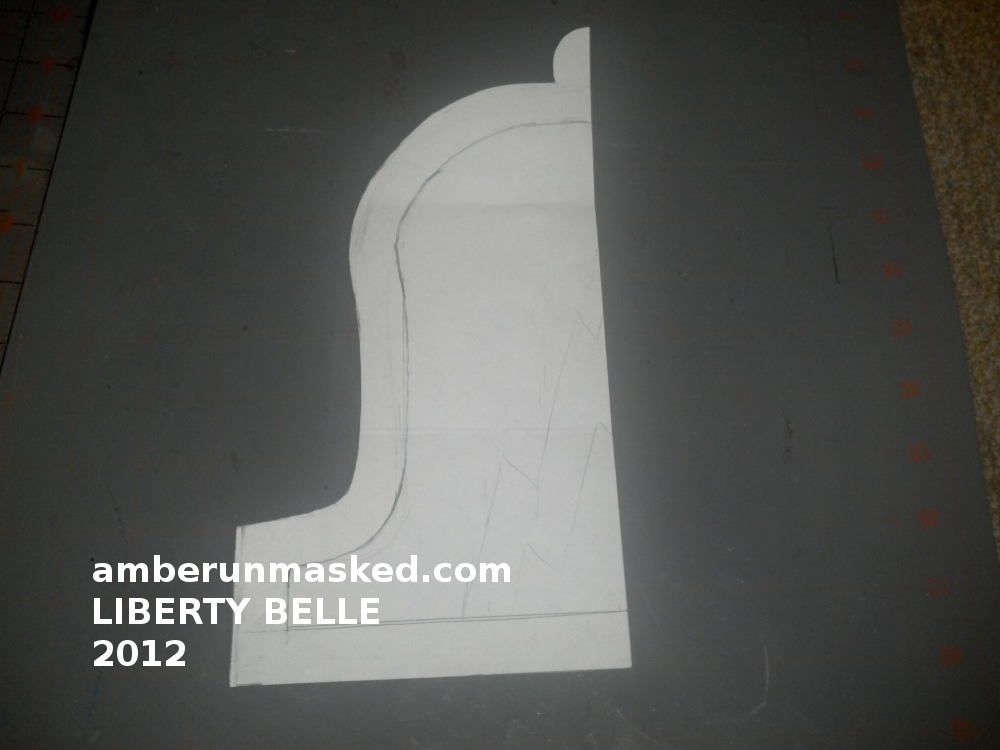
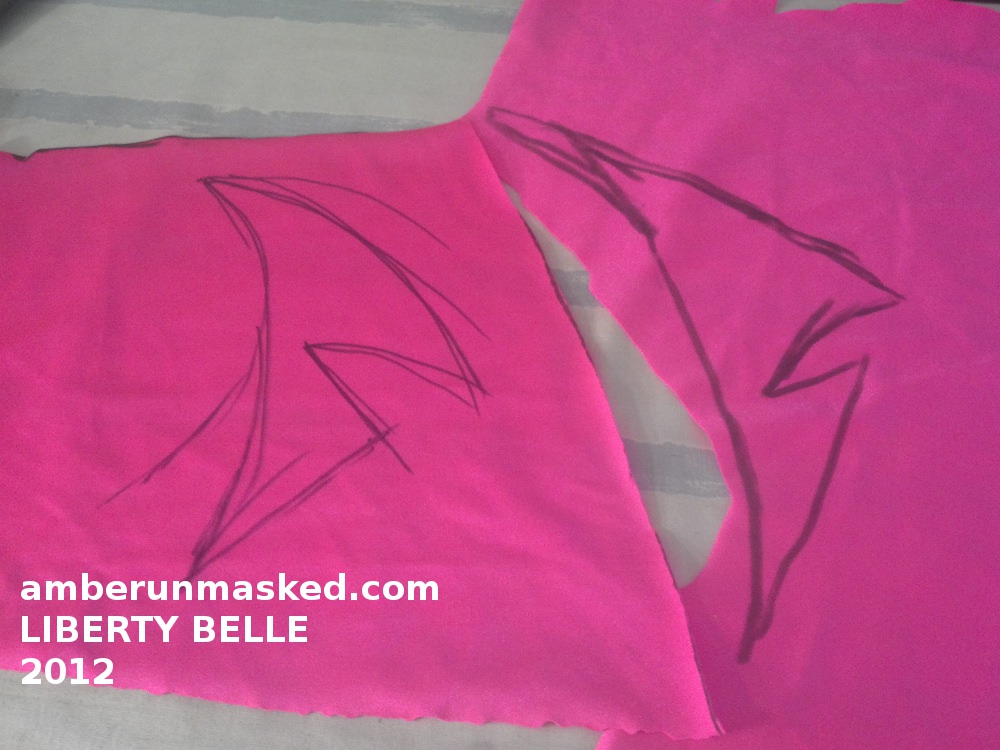
I created a paper template to use as a stencil for the chest logo. Since it would be cut out on folded fabric, only half the stencil was needed.
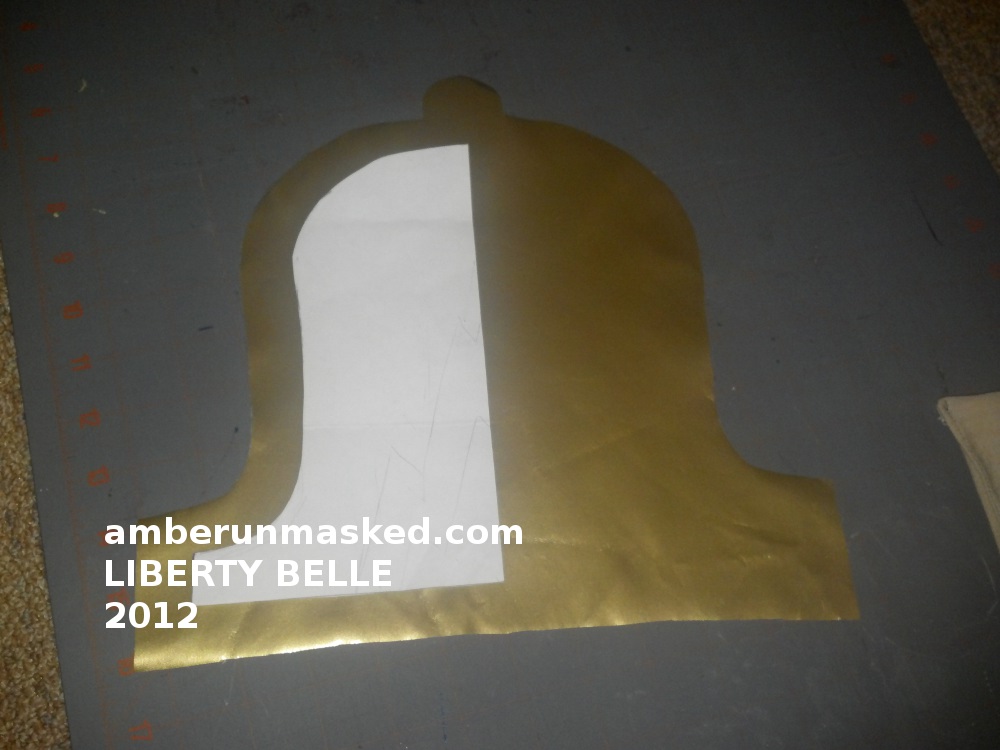
After cutting out the gold vinyl I trimmed the 3/4″ edge off the stencil which would the new template for the red portion.
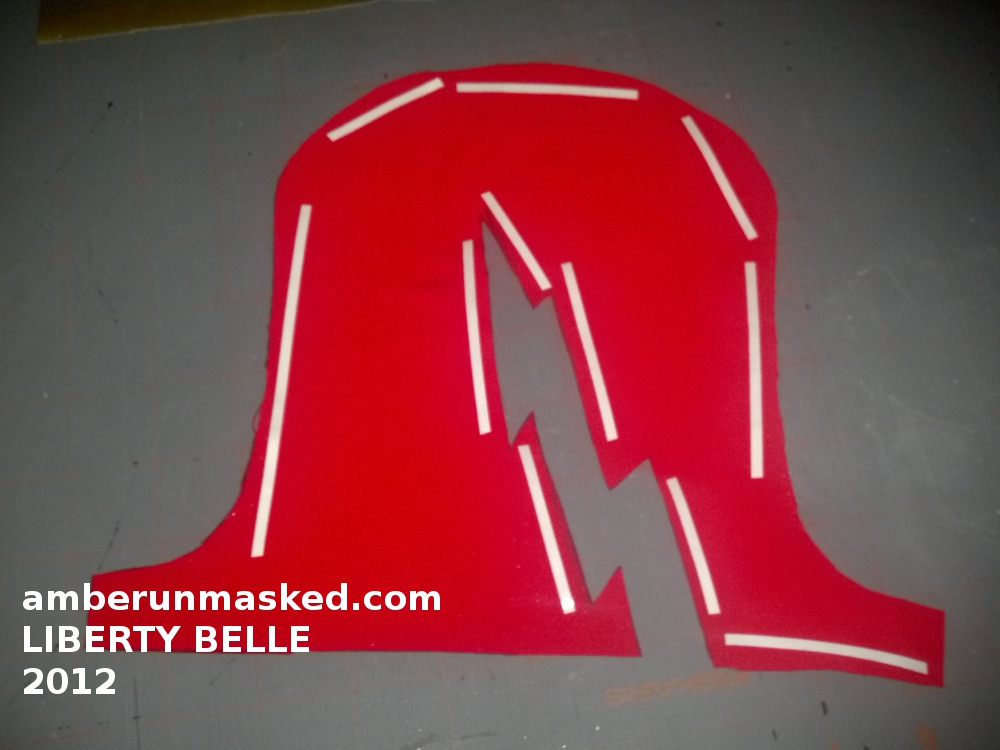
The red is a stretch vinyl and very flimsy. I used quilting tape which is double sided to apply to the red and keep it in place on the gold for stitching.
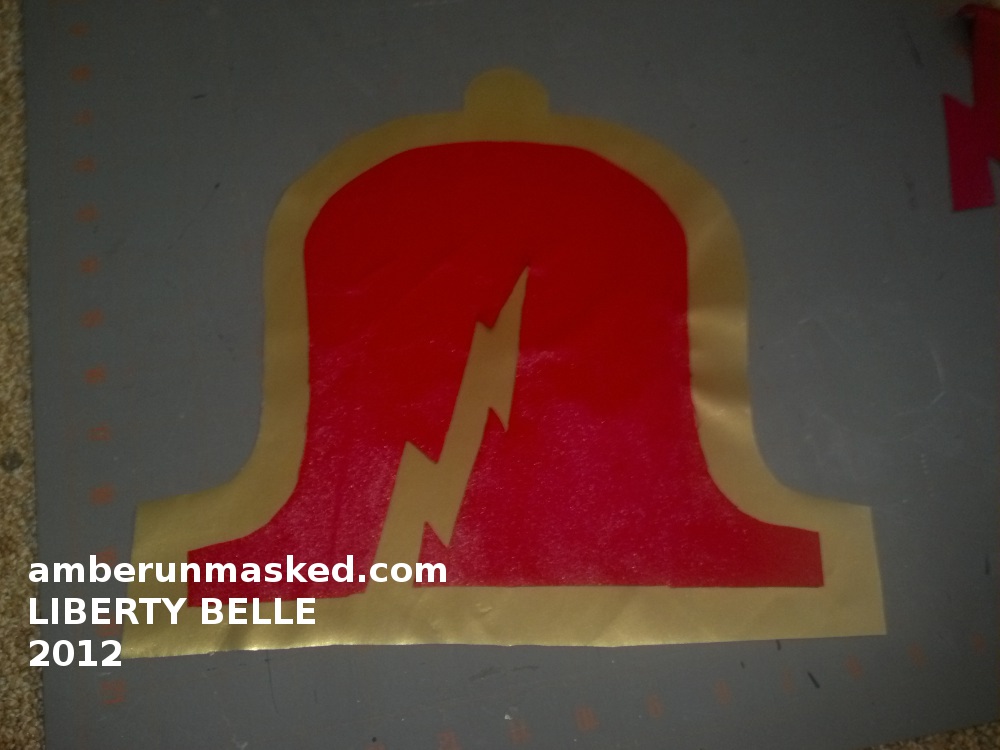
The red center was placed onto the gold.
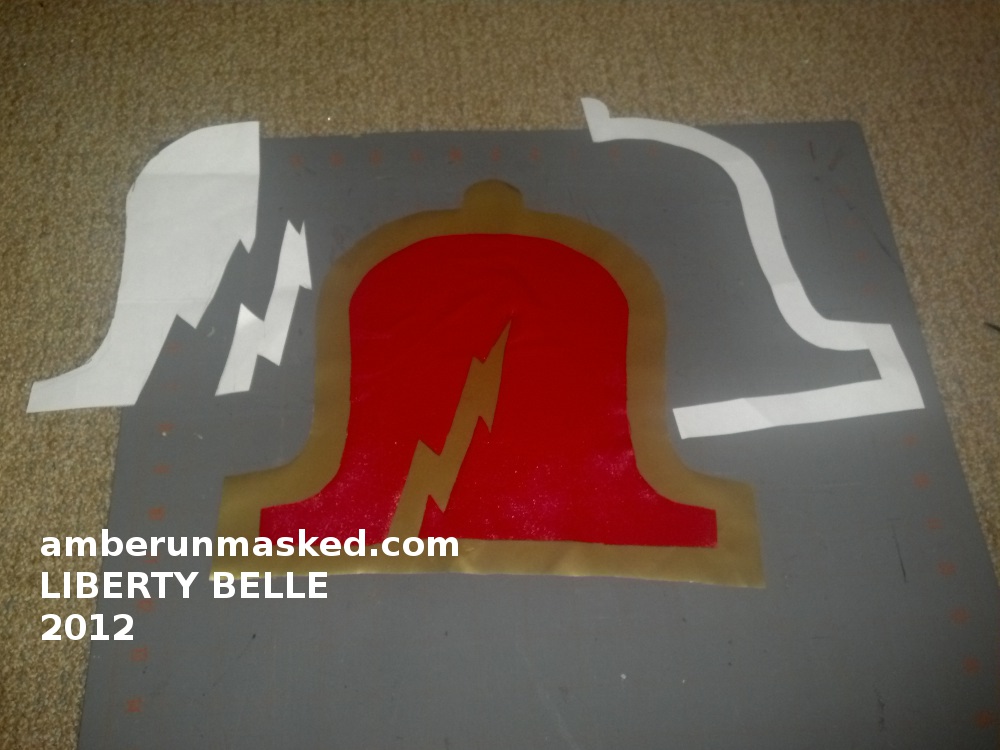
A look at how the stencil was eventually cut into separate pieces since the red varied slightly from the gold.
Because of the quilter’s tape, the red was easily zig zag stitched to the gold. But then I ran out of quilter’s tape!
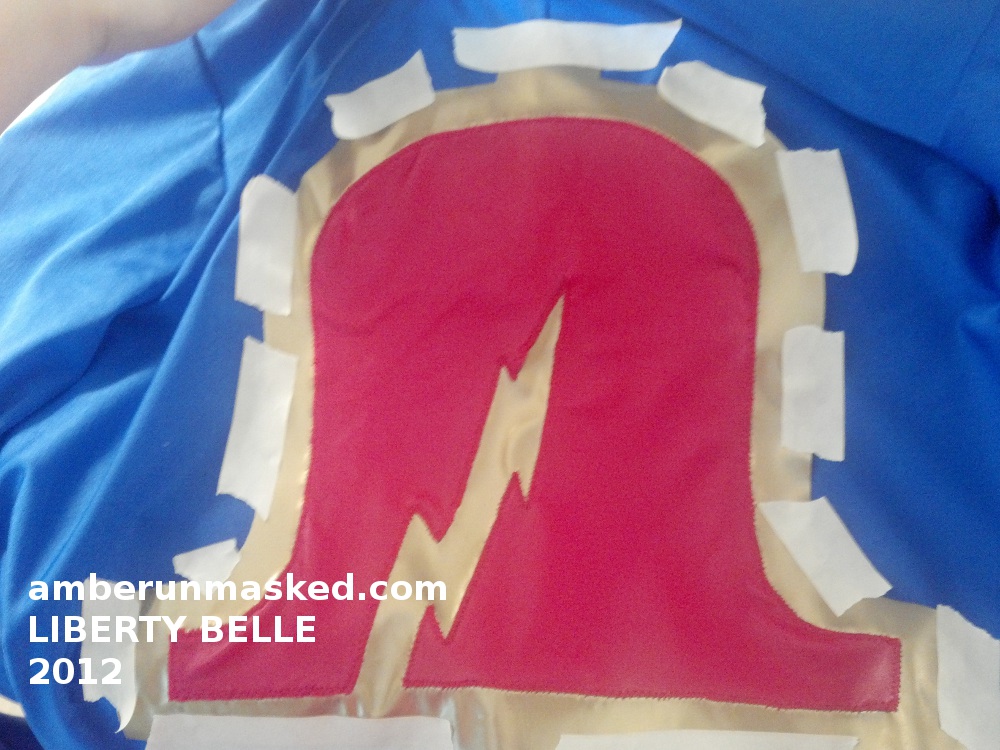
This blue milliskin was by far the slipperiest spandex I’ve ever worked with. I had no more quilter’s tape and couldn’t pin the gold vinyl because once you puncture through vinyl it doesn’t mend itself the way other fabric does. The challenge was keep the logo on the spandex without it moving. I attempted to do this with masking tape around the edges then pinning the masking tape. FYI – it didn’t work all that work but I got through it.
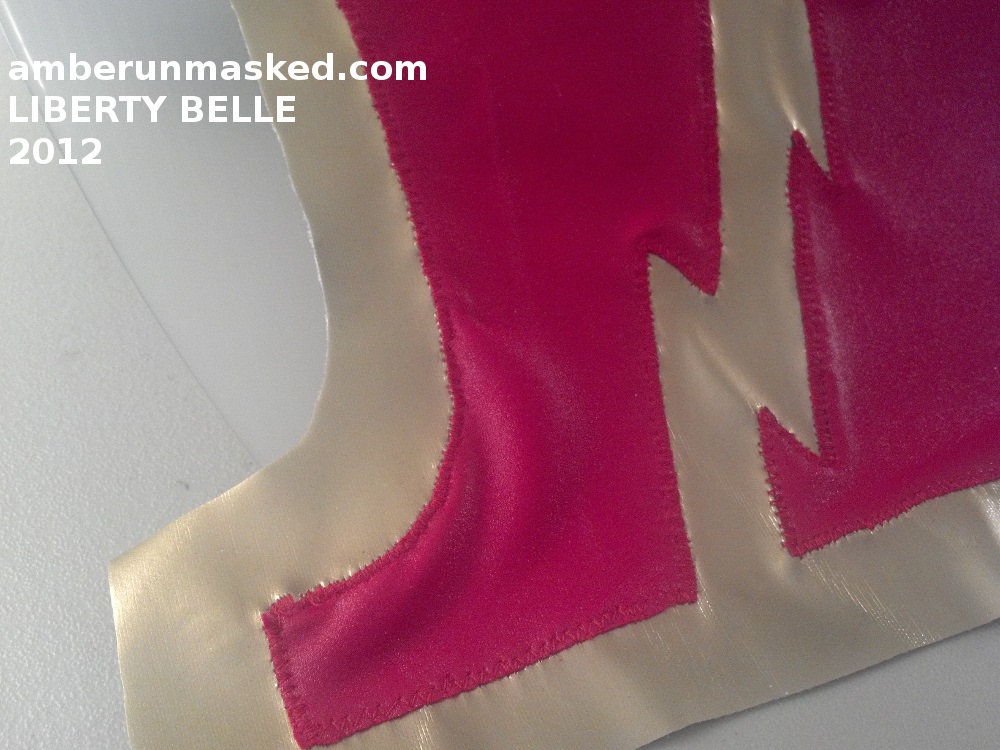
A close up look of the chest logo stitching.

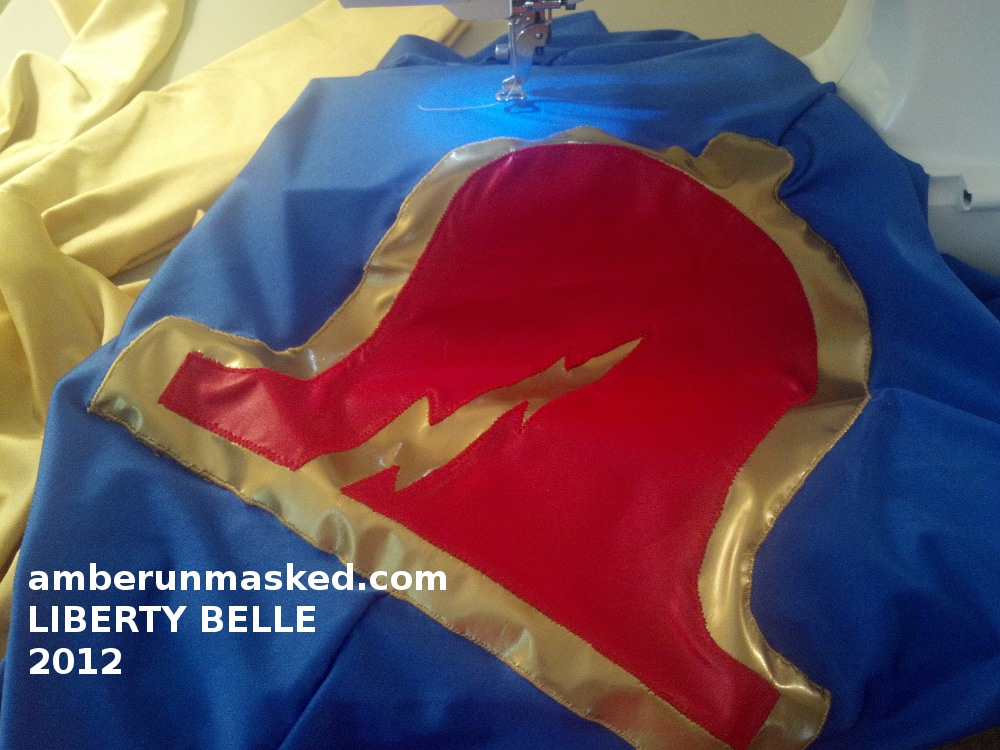
The suit was tested on the dress form again to see the chest logo.
I referred back to different images of the character and began working on designs for the collar.

Four pieces of very thick red spandex were cut; this was practically neoprene thick. Each side was assembled, turned right side out and pinned to the neckline of the suit.
The neckline was topstitched 1/4″ out and also very close to the collar attachment. No interfacing was put into the collar because it’s so thick.
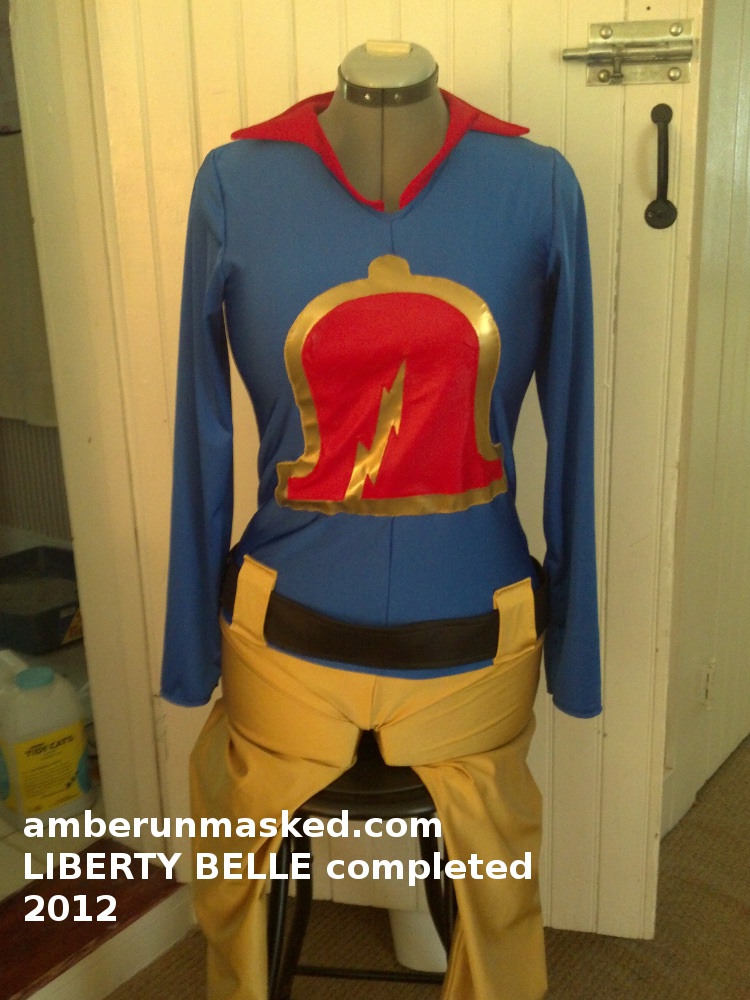
Belt loops were added above the top of the leggings so that with the belt on it makes the pants portion appear taller and less “insanely low” riding. With the addition of the belt loops and belt, it’s a comfortable “hip hugger” style.


2 Comments on Tutorial: LIBERTY BELLE costume (DC)
Comments are closed.
Thank you I have been looking into making this Cosplay!
Most people go with actual trousers but I was on a mission to use my spandex supply to see how many costumes I’d be able to create. Good luck!