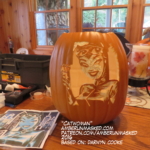
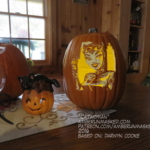
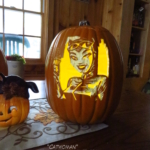
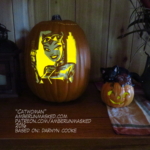
2016 PUMPKIN TUTORIAL
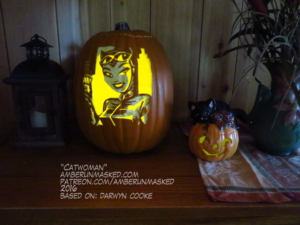
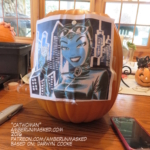
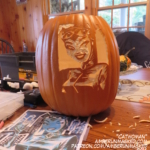
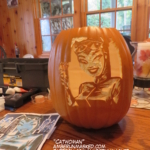
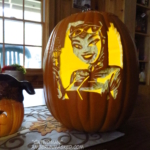
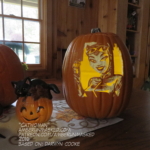
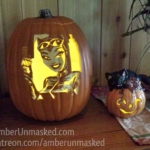
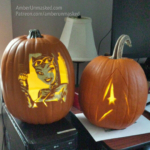
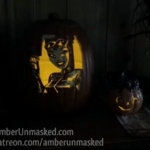
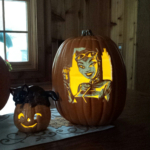
Darwyn Cooke Catwoman
AMBER LOVE 23-OCT-2016 I wanted to make this year’s pumpkin as significant as possible. I had suggestions of Black Panther or the new Ghostbusters. After giving it thought for several days, I decided the best thing I could do for a geeky pumpkin this year is honor one of my favorite artists, Darwyn Cooke. Little did I know at the time that Darwyn and Marsha were pumpkin carvers themselves. I was nervous that it would suck, but when I showed her the finished picture, she said it made her day better and that’s the best thing I could’ve heard. I only met Darwyn once, but his passing felt like a friend was gone. That was all because of his work moving me since he never used social media. He was just that big of a presence. His Parker books are on my top shelf.
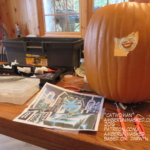
Preparing the Pumpkin Stencil Image
Since Darwyn’s 1950s illustrating style has that distinct quality of “less is more” I didn’t have to do anything to the image that I found. Normally I have to spend quite some time in GIMP making sure that the image has the right threshold of blacks, midtone, and white space. You can go back to my 2015 Gotham Penguin tutorial to get those steps.
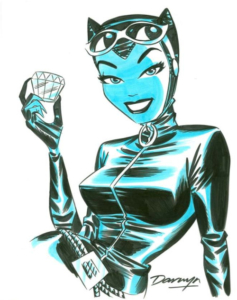
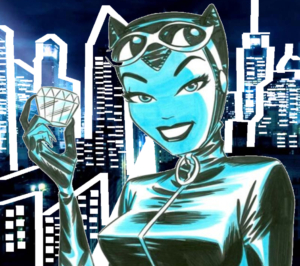
The only things I decided to do were:
- enlarge the image I found.
- crop it.
- tried to add some buildings from a photo.
Clean the pumpkin if it’s a real one. If you’re using a craft pumpkin, you’ll still want to cut the top off so that you can empty the scraps and eventually put the flameless candles in.
Tools
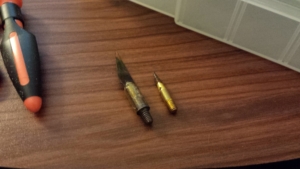
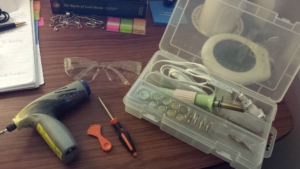
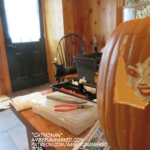
I used for a foam pumpkin:
- safety glasses
- scotch tape
- Dremel
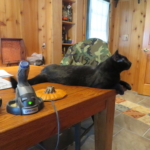
- wood burning hot tool with 2 tips
- a mini pumpkin serrated knife from Pumpkin Masters kit
- and tool for poking the dots also from Pumpkin Masters kit.
- keep a bowl of ice water nearby in case of burns with the hot tool
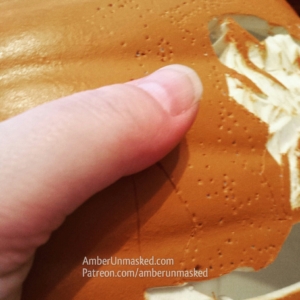
Pumpkin Carving Steps
After that all the steps are the same as my previous tutorials from this point:
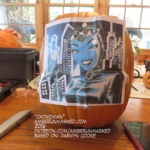
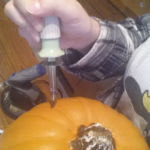
Pin the pattern to the surface of the pumpkin. Using a push pin or the tool provided in the Pumpkin Masters tool kits, go around every black, white, and grey shape in the pattern. If the paper isn’t lying flat, you’ll need to make adjustments.
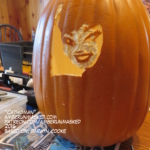
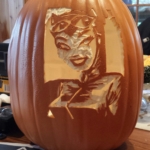
Remove the paper from the pumpkin but keep it nearby because you’ll rely on it to see which shapes are to cut out completely and which are to cut out partially. The grey/blue shapes are the ones that you only cut halfway through leaving some of the flesh/foam. The white shapes are the spots you cut out completely. The black shapes are untouched pumpkin.
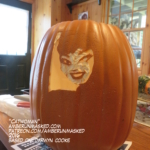
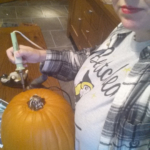
Begin at the center and work your way out. I know I messed up the eyes, but I tried to fix them with a different tip for my hot tool. If that happens, just adjust as you go along. My finished carving isn’t a 100% match for the pattern because of adjustments made on the fly. If something breaks off with the foam pumpkin, you should be able to hot glue it back into place. I’ve never tried. I just figure out a way to work around the problem area. With a real pumpkin, you can try anchoring with toothpicks.
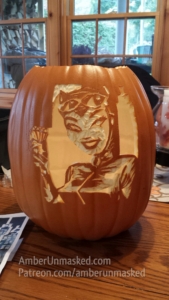
After all the cutting work is done, it’s time clean up the midtone surfaces. Use a small Dremel bit to refine some of the shaded areas. Carving time on the Catwoman pumpkin was about 4 hours (also with one hour or so in GIMP).
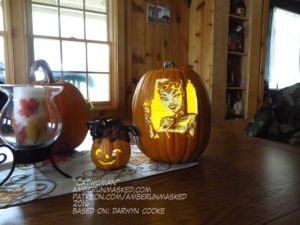
Add battery-operated, flameless candles. Put the top back on. Turn off the lights. And you’re all set! #Spoopy!
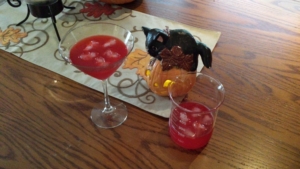
Cocktail Time:
We found Vampyre Vodka in stock at a local liquor store. Normally you have to special order it. The blood red color can leave your teeth a little red which is a great effect if you’re going for spooky.
- Juice of 1 lime or lemon, your choice
- 1 part Triple Sec (if you want a purple drink use Blue Curacao)
- 3 parts Vampyre Vodka
- 1 splash of Bulleit Bourbon
Shake with ice. Pour into chilled glasses prepared with skull and bone ice cubes.

