RAT QUEENS PUMPKIN CARVING
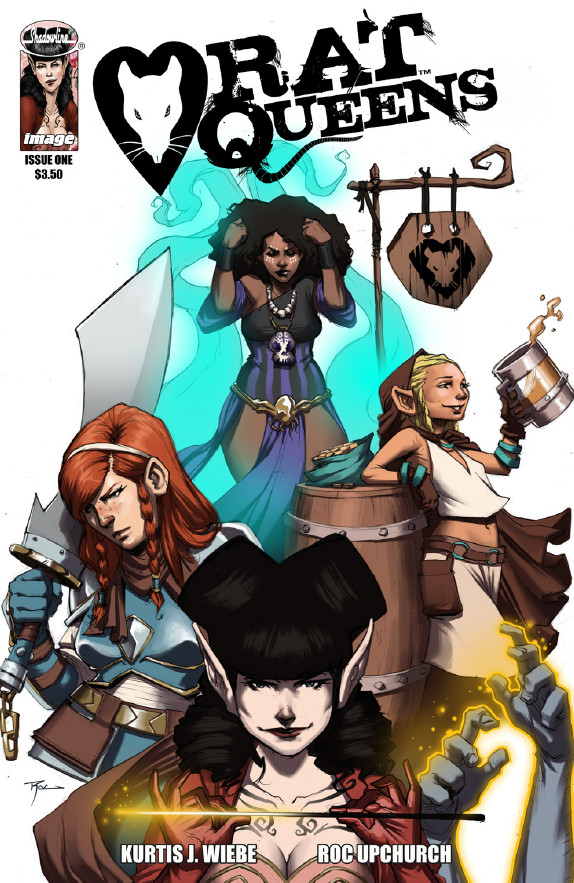
BASED ON IMAGE COMICS
AMBER LOVE 23-OCT-2014 I had only posted a few days ago about how Halloween celebrations have left my spirit almost as much as Christmas. Halloween used to be “our” biggest holiday in my household whether I was living alone, with a spouse or sharing it with a girlfriend. Even when the stress of it began to take its toll, my ex would insist on making Halloween a huge deal complete with massive party and new decorations every single year. But I was getting more and more stressed about it as this went on. I also used to participate in a fantastic, massive pagan ritual in New Hope, PA with other witches from the area; the ceremony was followed by a drag queen show and all the money from the dinner went to charity after expenses. Throughout the years, I had made fake tombstones, lots of pumpkin carvings, food and seasonal drinks for Halloween. And of course, as a cosplayer, I would throw together a costume because my best work for that was saved for comic conventions and charity events. The last carvings I did were in 2011. That seems like forever ago.
This year, I’m in another bad vortex of depression not to mention that I’ve been really sick post NYCC. I’ve barely gotten out of bed for the last seven days. Honestly, today is the longest hours I’ve been awake consecutively and I only got four hours of sleep last night.
CHOOSING RAT QUEENS
You can tell from my gallery of images that I usually opt for mainstream popular characters to carve into pumpkins. They were often gifts for other people. Sometimes I’d enter them in contests for geek carvings. This year I didn’t want to make another Wonder Woman, Batman, or mainstream character when the truth is those comics haven’t been on my pull list for years. I’ve been submerged into titles by Image Comics, Oni Press, Action Lab, Titan Comics and other indies. My current favorite books are: PRINCESS UGG, RAT QUEENS and HERO CATS.
If I were going to make up my mind (which I obviously did) and get back to carving, I wanted to do it without spending any more money, if possible. I had two faux pumpkins from Michael’s Craft Store sitting on my shelf for years. I tend to wait until after Halloween or the week of when the store has them on huge discount. So I had a large one and medium one sitting there gathering real authentic old house dust for a long time.
Each of the main characters of RAT QUEENS certainly deserves her own image carved into a pumpkin but since I only had these two and also because it had been a long time since using my skills, I needed to go simple. I decided to make the RAT QUEENS logo which you see not only on the comic book covers but the characters also have it incorporated into their gear.
What you need:
- a precision blade wood carving electric wood carving tool
- template of design
- push pins or the “poking” tools from the Pumpkin Masters carving kits
- possibly a knife or mini-saw from PM kit
- tape
- (computer & printer to make your design – I manipulate images in GIMP which is free software)
- possibly a Dremel tool with precision sanding nib
- battery operated candles – NEVER USE REAL FLAMES WITH CRAFT PUMPKINS!
Steps for Carving:
- Print out design
- Tape design to the side of the foam pumpkin that seems best.
- Poke holes around the design as best as you can. If you’re doing 3 tones (white, grey, black for fully cut out, partially cut out, flesh remaining – you’ll need to be cautious of which area is which)
- Cut opening in the top of the pumpkin.
- Peel off the template. Keep it close for reference because it’s hard to see all the areas properly when you have more complicated design. This one is simple.
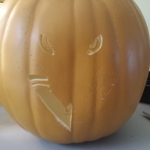
- You should be able to now see the design in a hole-punched pattern.
- Start from the smallest details closest to the center of the design and work outward carving out the black areas completely.
- Then repeat carving out the grey areas only partially; you take off the skin and some of the flesh but leave some behind so that it provides shaded areas.
- Give final clean up touches with the Dremel if needed.
- Dump out the inside of the pumpkin since it’s probably full of cut out bits.
- Insert a battery operated candle; sometimes you get the best light if you add a bunch of the votives because one isn’t enough.
- Put the top back on the pumpkin and you’re all set.
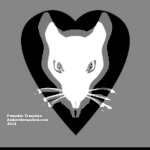


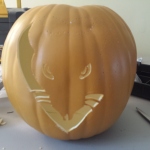

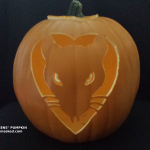

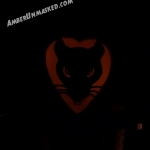
Since the official RAT QUEENS logo is the head of the rat floating inside the heart and only has contact with the heart at the tips of the whiskers, I had to modify the logo. I used my terrible photoshop skills in GIMP to enlarge the head and shift it higher in the heart so the ears would provide a bigger area of contact with the edges. You need to do this in your designs because you can’t have “floating” objects with little or no contact to the main flesh of the pumpkin; your design would fall through the hole. I extended the whiskers. Cutting out thin areas like the eyes and the whiskers are hard to do and even harder to match. You can see my left and right whiskers don’t match but they’re thick enough to give stability so the rat head won’t fall through the heart unless it’s badly damaged. At the last minute, I decided to make part of the eyes shaded instead of fully flesh. I only had one working votive and took the final shot in midday and it still shows up pretty well. I tweaked the final image only slightly by increasing the contrast. Pictures were taken with my cell phone, nothing fancy, no low light settings.
You can find all my PUMPKIN TUTORIALS using the PUMPKIN tag in the meta cloud. Let me know your favorite!