COSPLAY PROP TUTORIAL:
PLANET GIGANTIC’S QUEEN NEVA
THE EYE OF SHADOWS STAFF
ACTION LAB ENTERTAINMENT

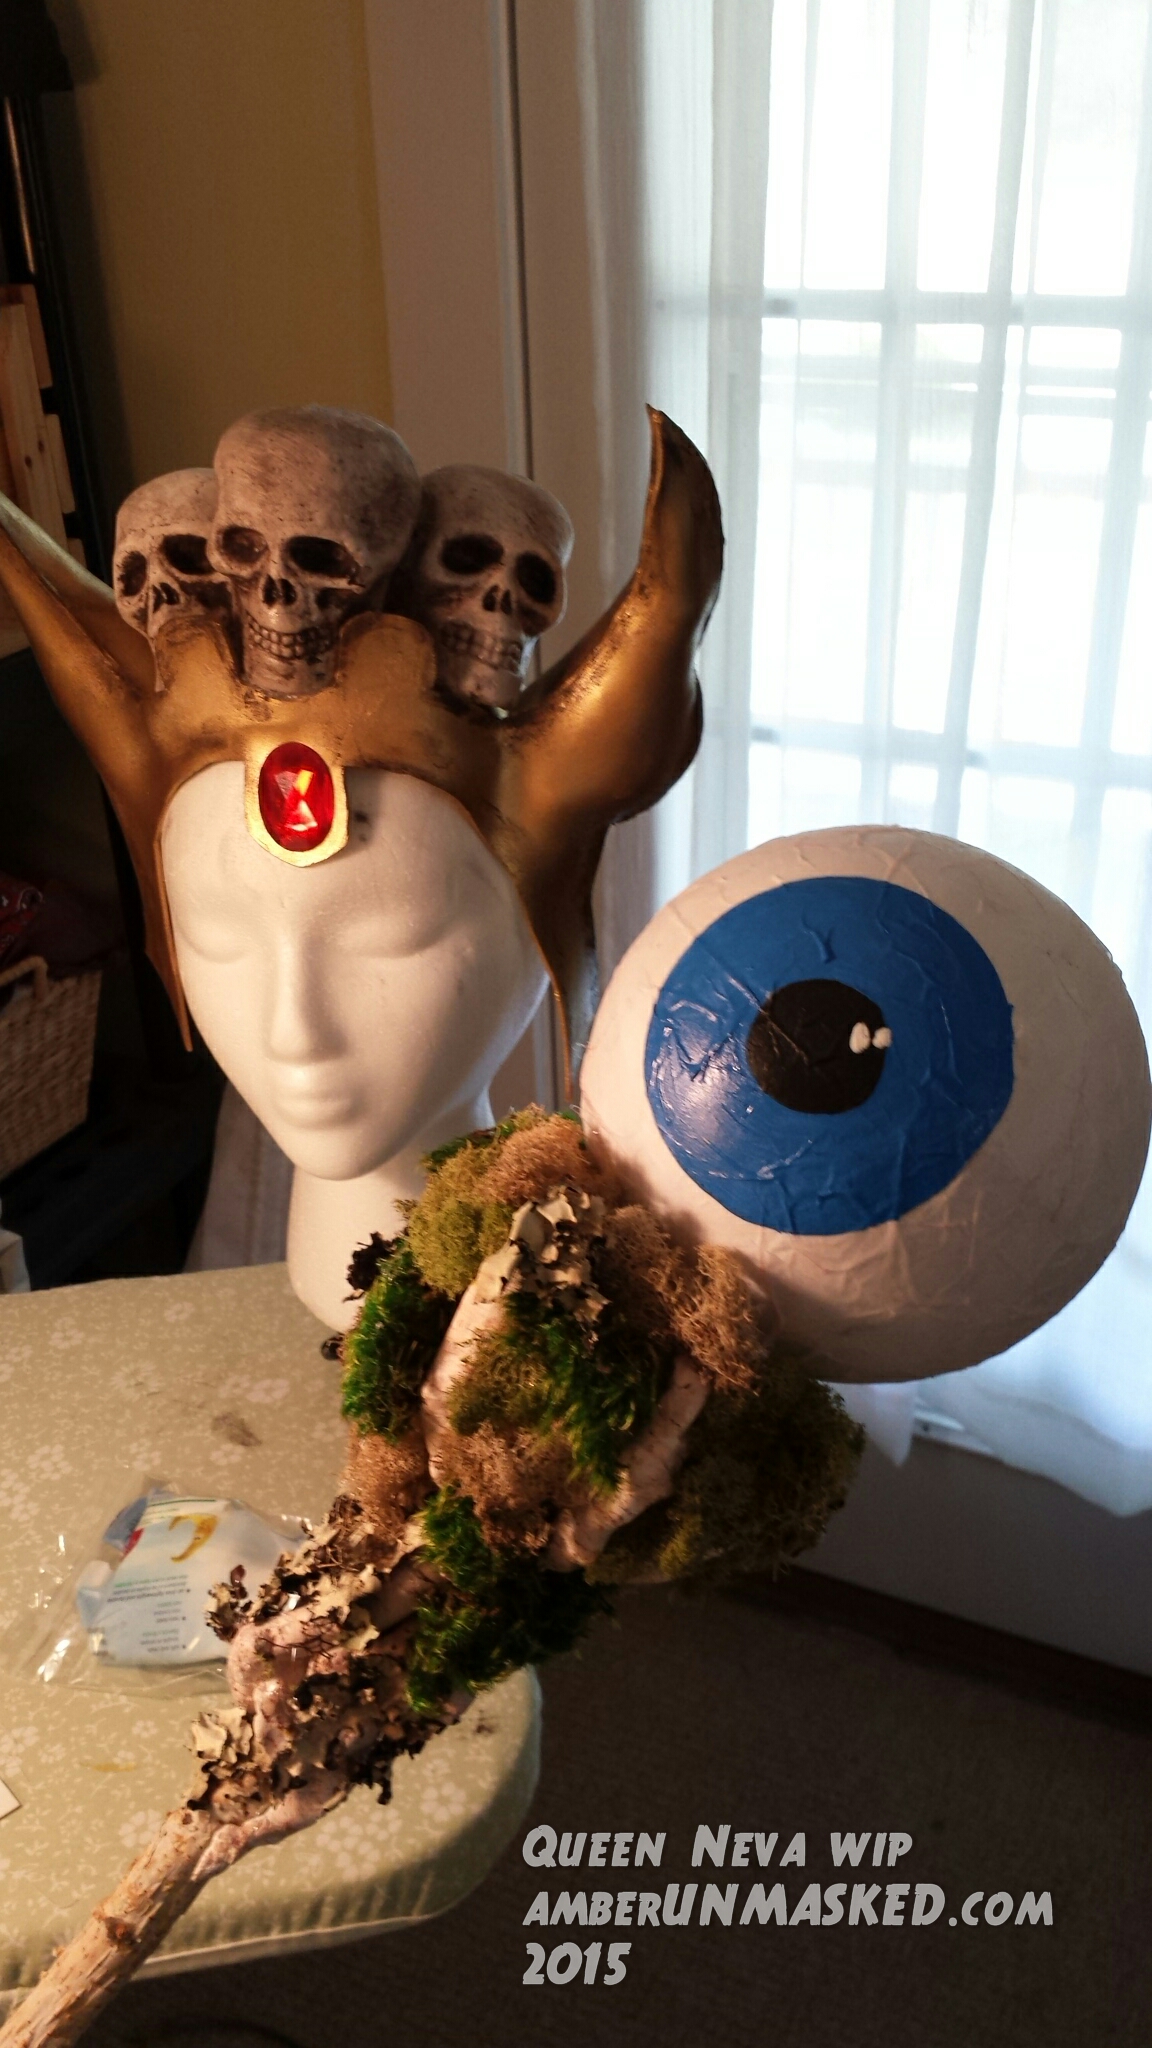
AMBER LOVE 30-SEP-2015 This is the tutorial for creating QUEEN NEVA’S “Eye of Shadows†staff from the comic book PLANET GIGANTIC. Refer back to the main costume tutorial page to learn about Queen Neva, created by Eric Grissom and David Halvorson.
BUDGET:
I itemized the budget on this project in the previous post about the costume. I spent around $55 to make Queen Neva’s staff because it was the one thing that I couldn’t put together from items around the house. We even checked to see if there were any brooms or mops that could be taken apart.
STEPS FOR CONSTRUCTION:
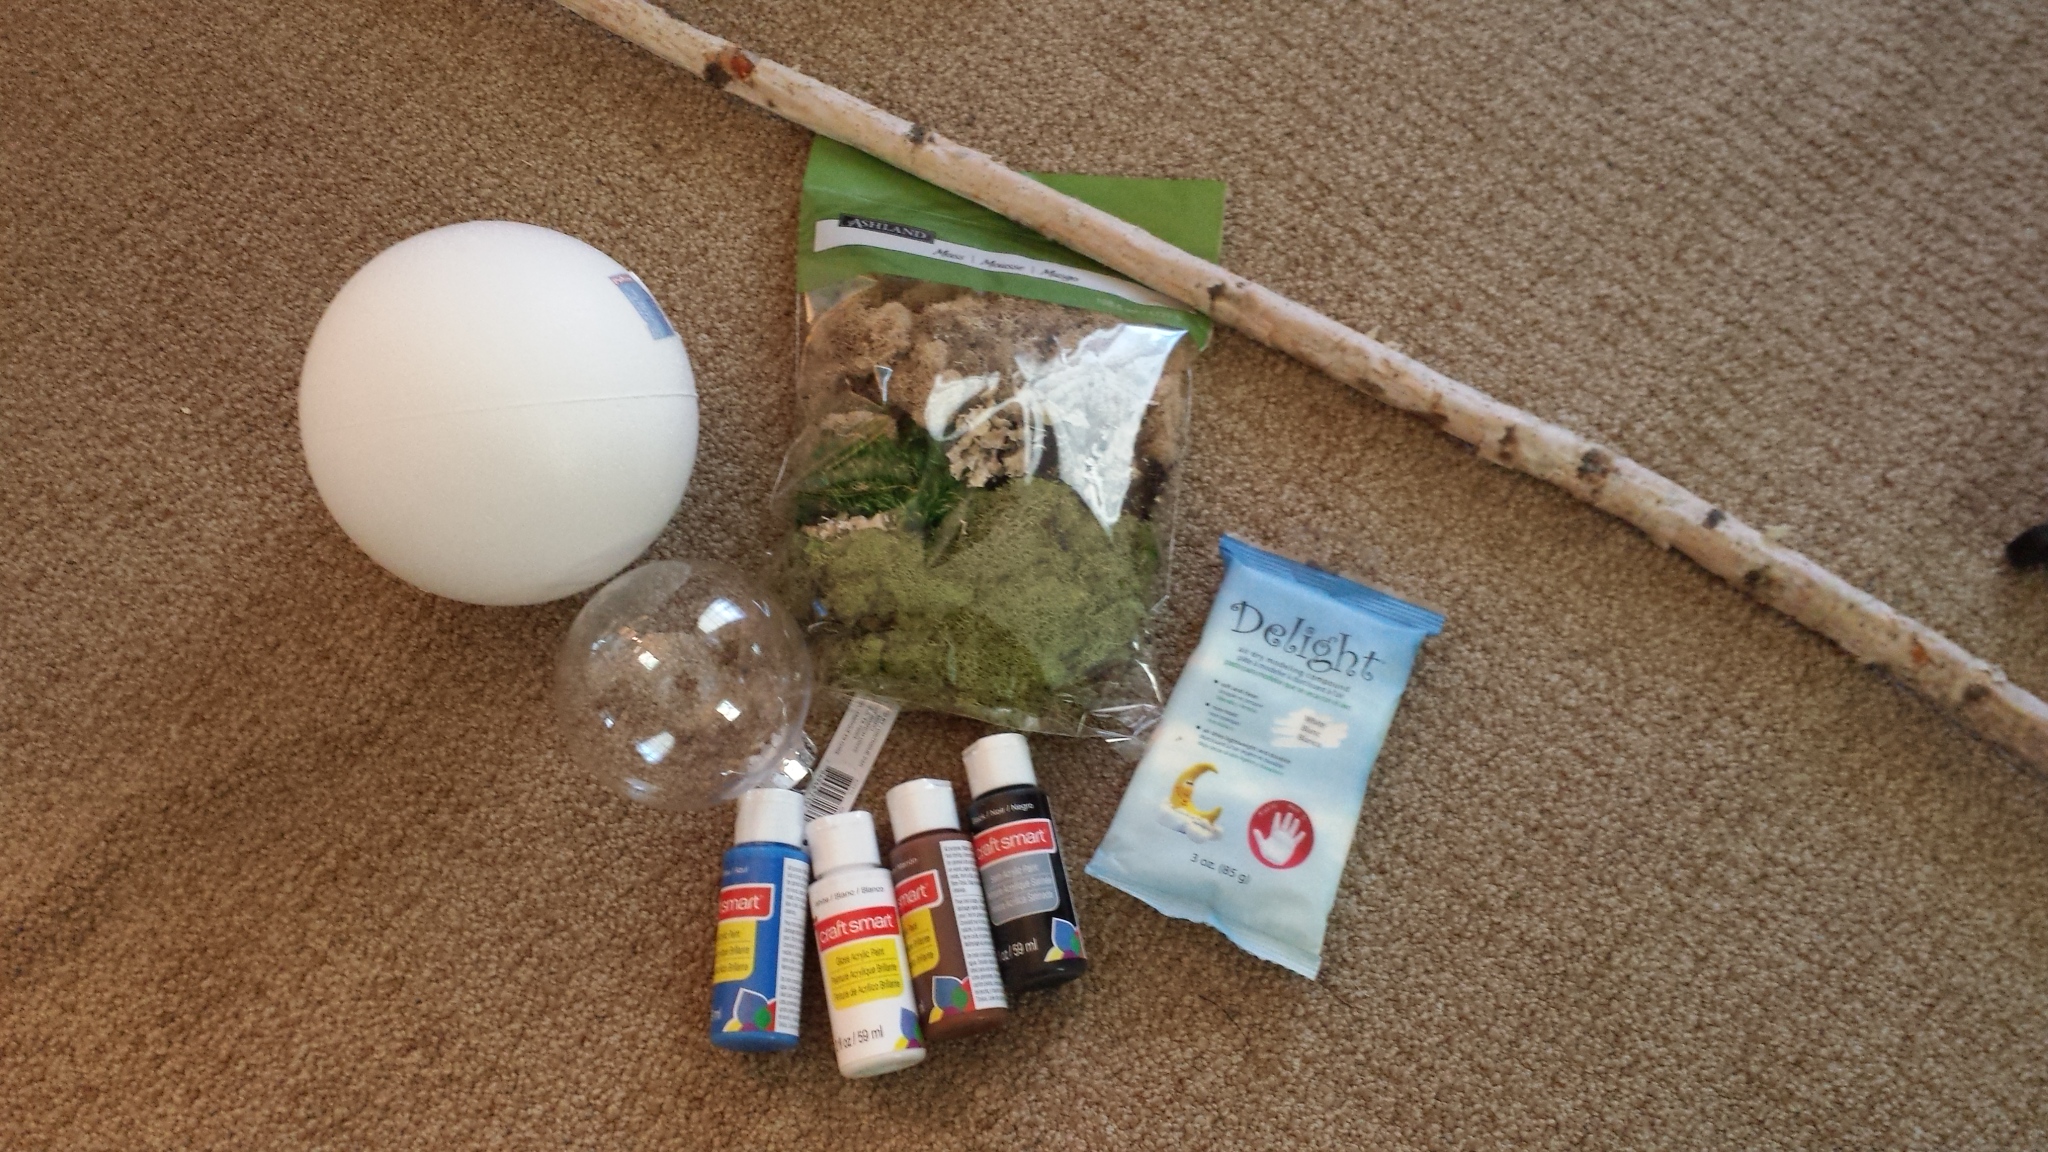
At Michael’s, I found a river birch branch that’s quite long. In fact, I should have my father cut this down because it’s too tall, but pretty badass. It was the only wooden branch that would work. They had bamboo and some reeds, but I wanted a forest tree branch and I happen to love birch even though the bark is messy as hell.
At the store, I asked a couple of the employees for ideas on how to make it look like the giant eyeball is floating. After talking it out and checking through the aisles, what we came up with was using a clear Christmas tree ornament to “fake†space between the wooden branches and the eyeball. The idea was that it should look like it was hovering and people would have to use their imaginations. This changed when I attempted it. More on that below.
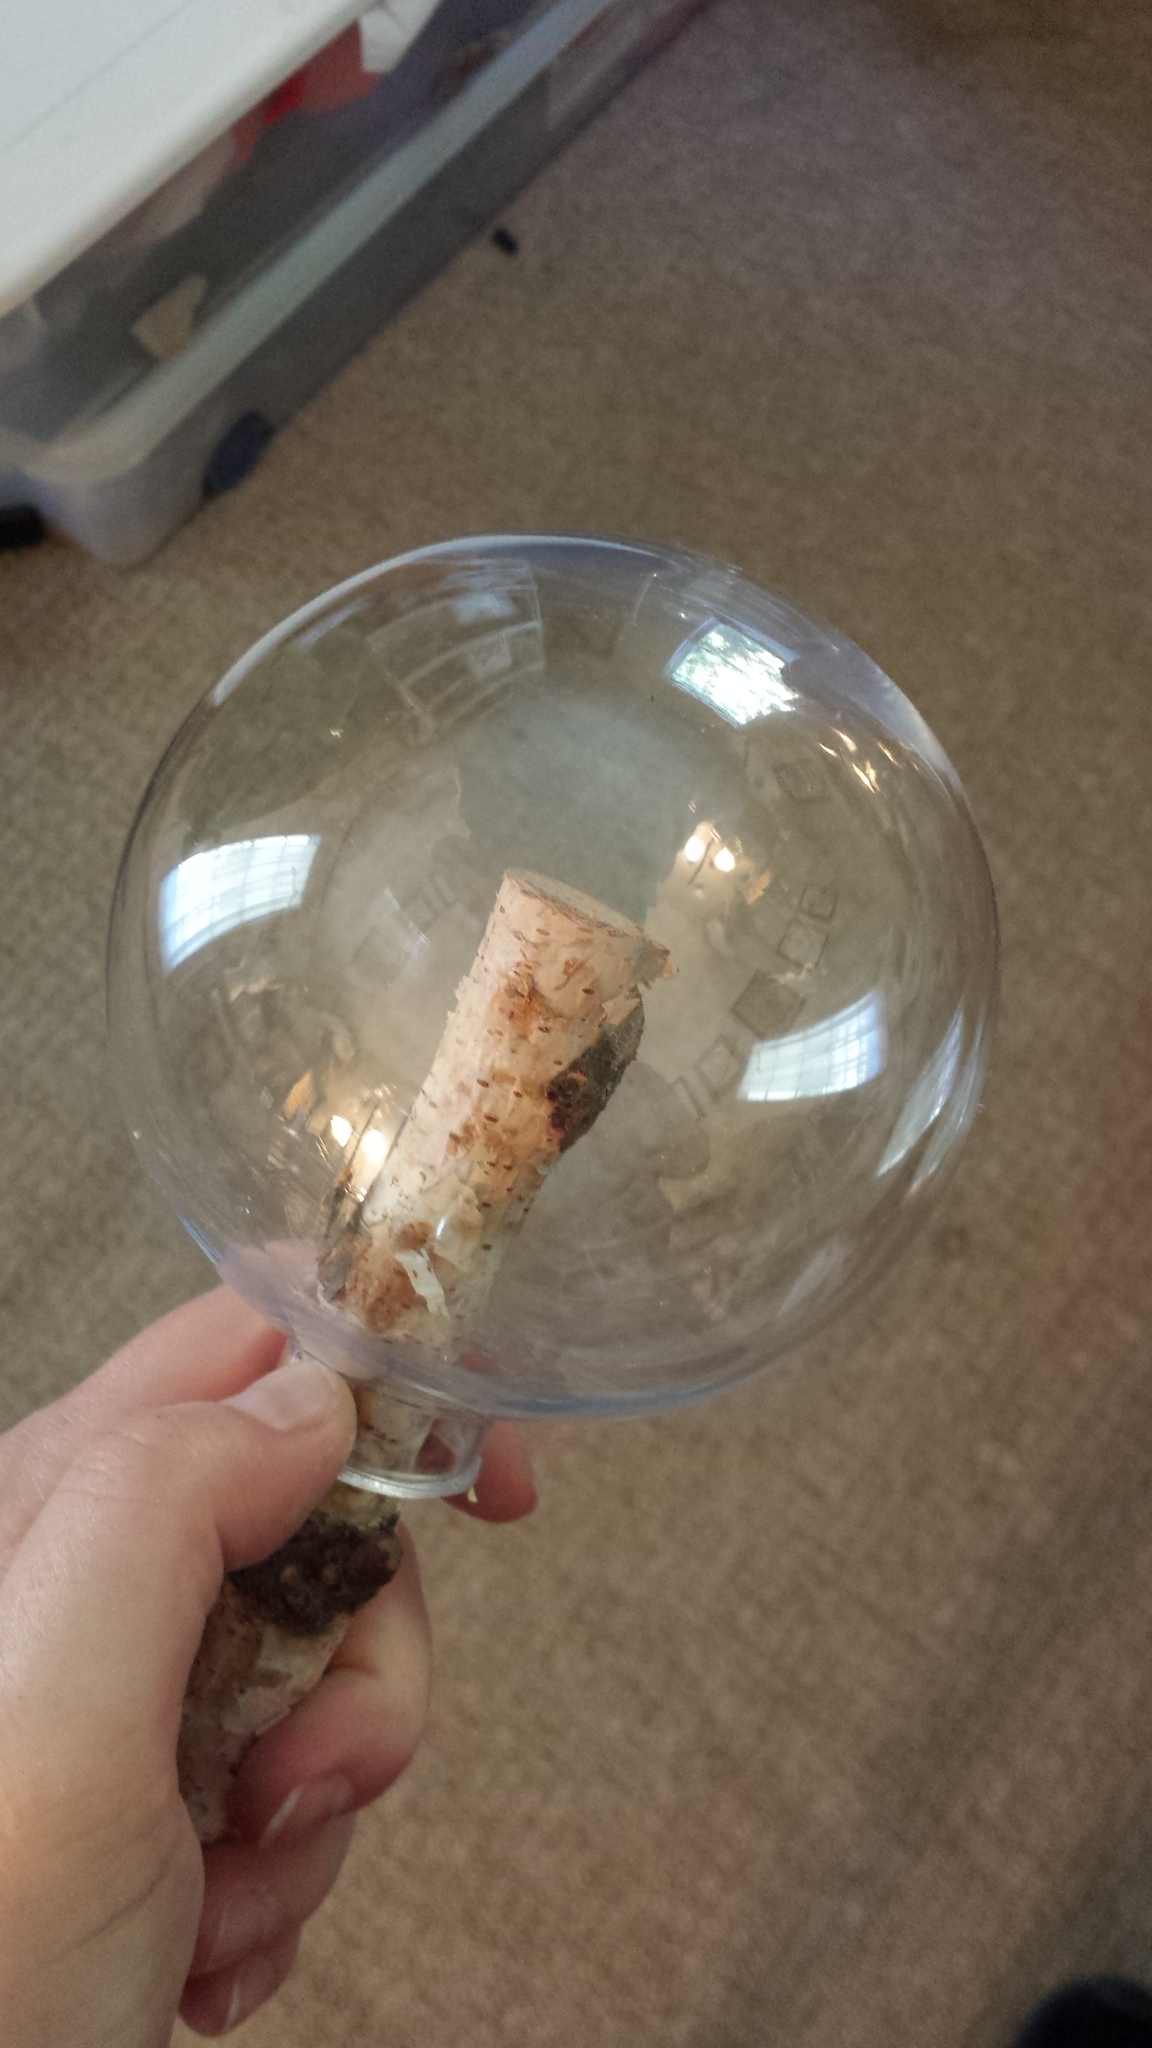
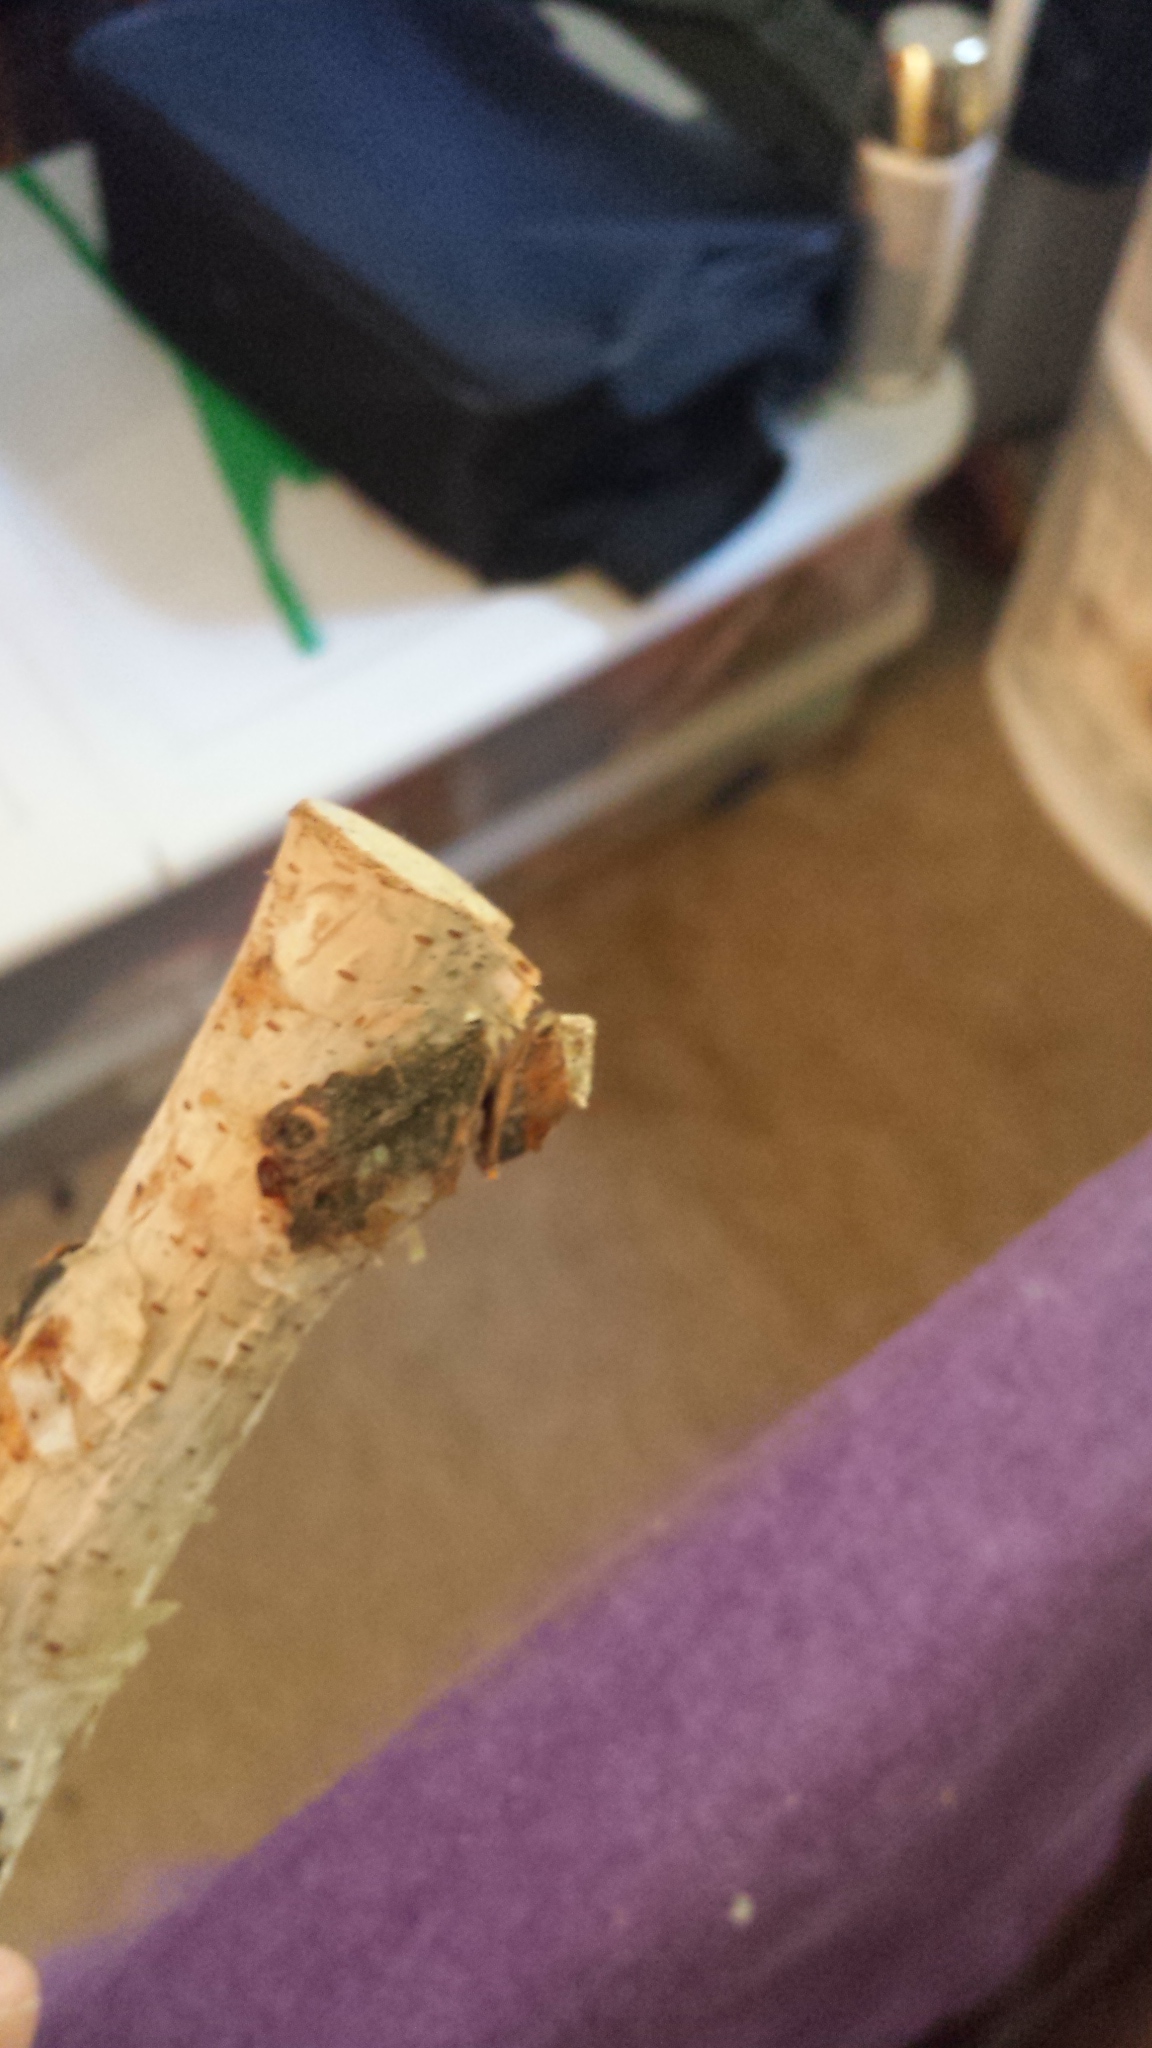
The first thing I did was remove the top and hook from the clear ornament. Then I checked to see if the end of the branch would fit inside. There was a knot in the wood prohibiting it from going in as far as I needed so I used my Dremel to cut off the knot. Then it fit. I used a lot of hot glue to hold it in place.

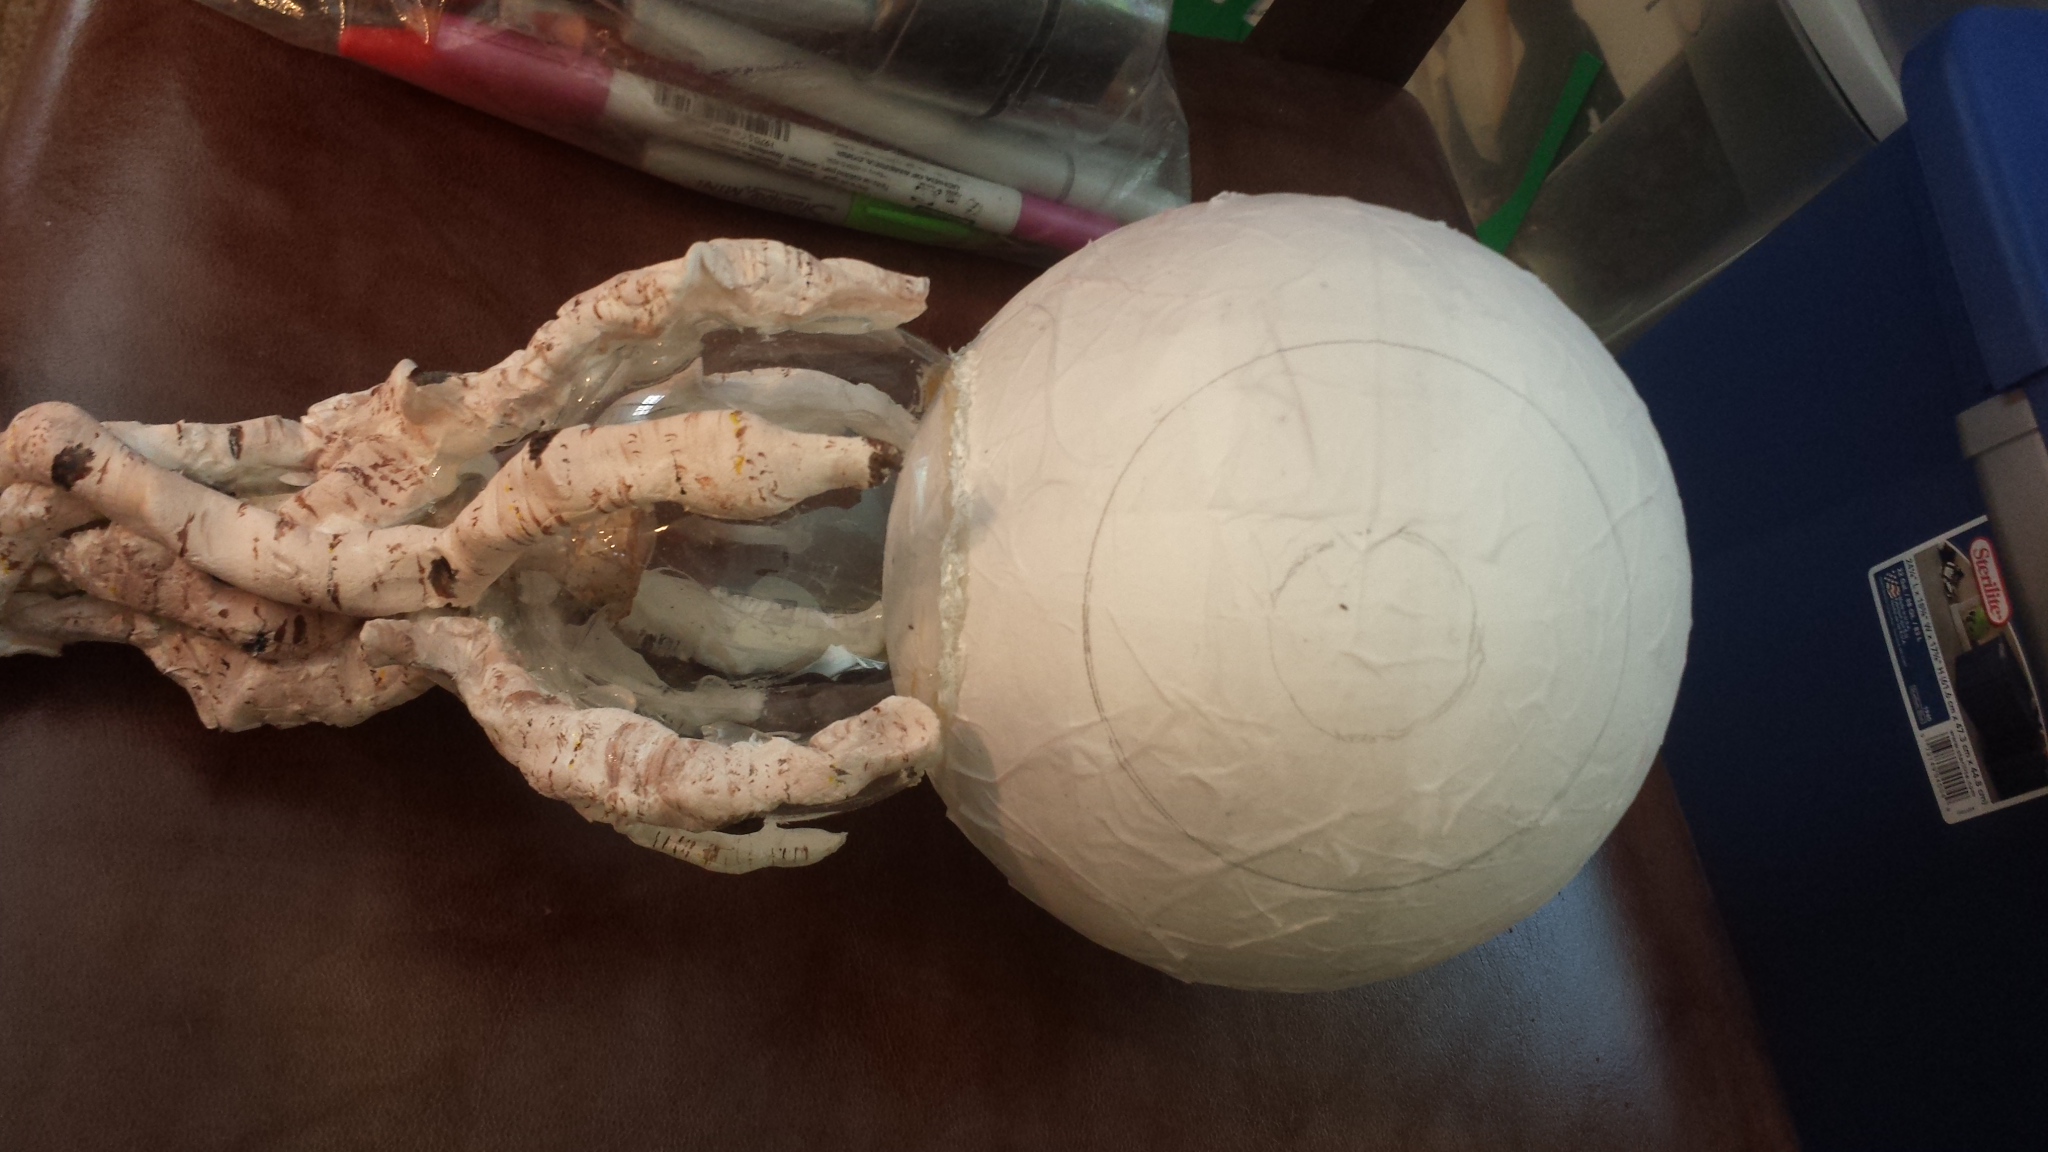
Then I took out the air dry clay. I molded some finger-like tree branches and wrapped them around the ornament and the birch again using hot glue to hold it in place.
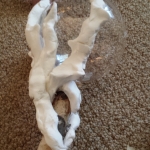
I burned most of the fingers on my left hand doing this. Second degree burns with blisters hurt like a bitch. After sculpting all the branches, I soaked my hand for about an hour in ice water. I know you’re supposed to keep a bowl of ice water near you when hot gluing, but I never do this and I always get burned.
The clay takes a few days to dry. While it was, I went on to other parts of the costumeClick to read about the dress, helmet and shoulder pad construction..


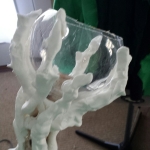
When the clay was dry, I painted it and hoped I was making it look like the authentic birch wood. It wasn’t great, but it wasn’t terrible. I hadn’t gotten any yellow paint so my coloring was a bit off. I still thought it looked cool.
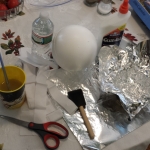
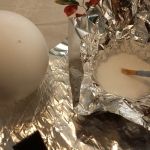
The eyeball was next. I bought a large “smooth†styrofoam ball. It still had craters and a big seam around it. I thought that if I covered it in Papier Maché (tissue paper dunked in watered down glue) that I could make the surface smoother.
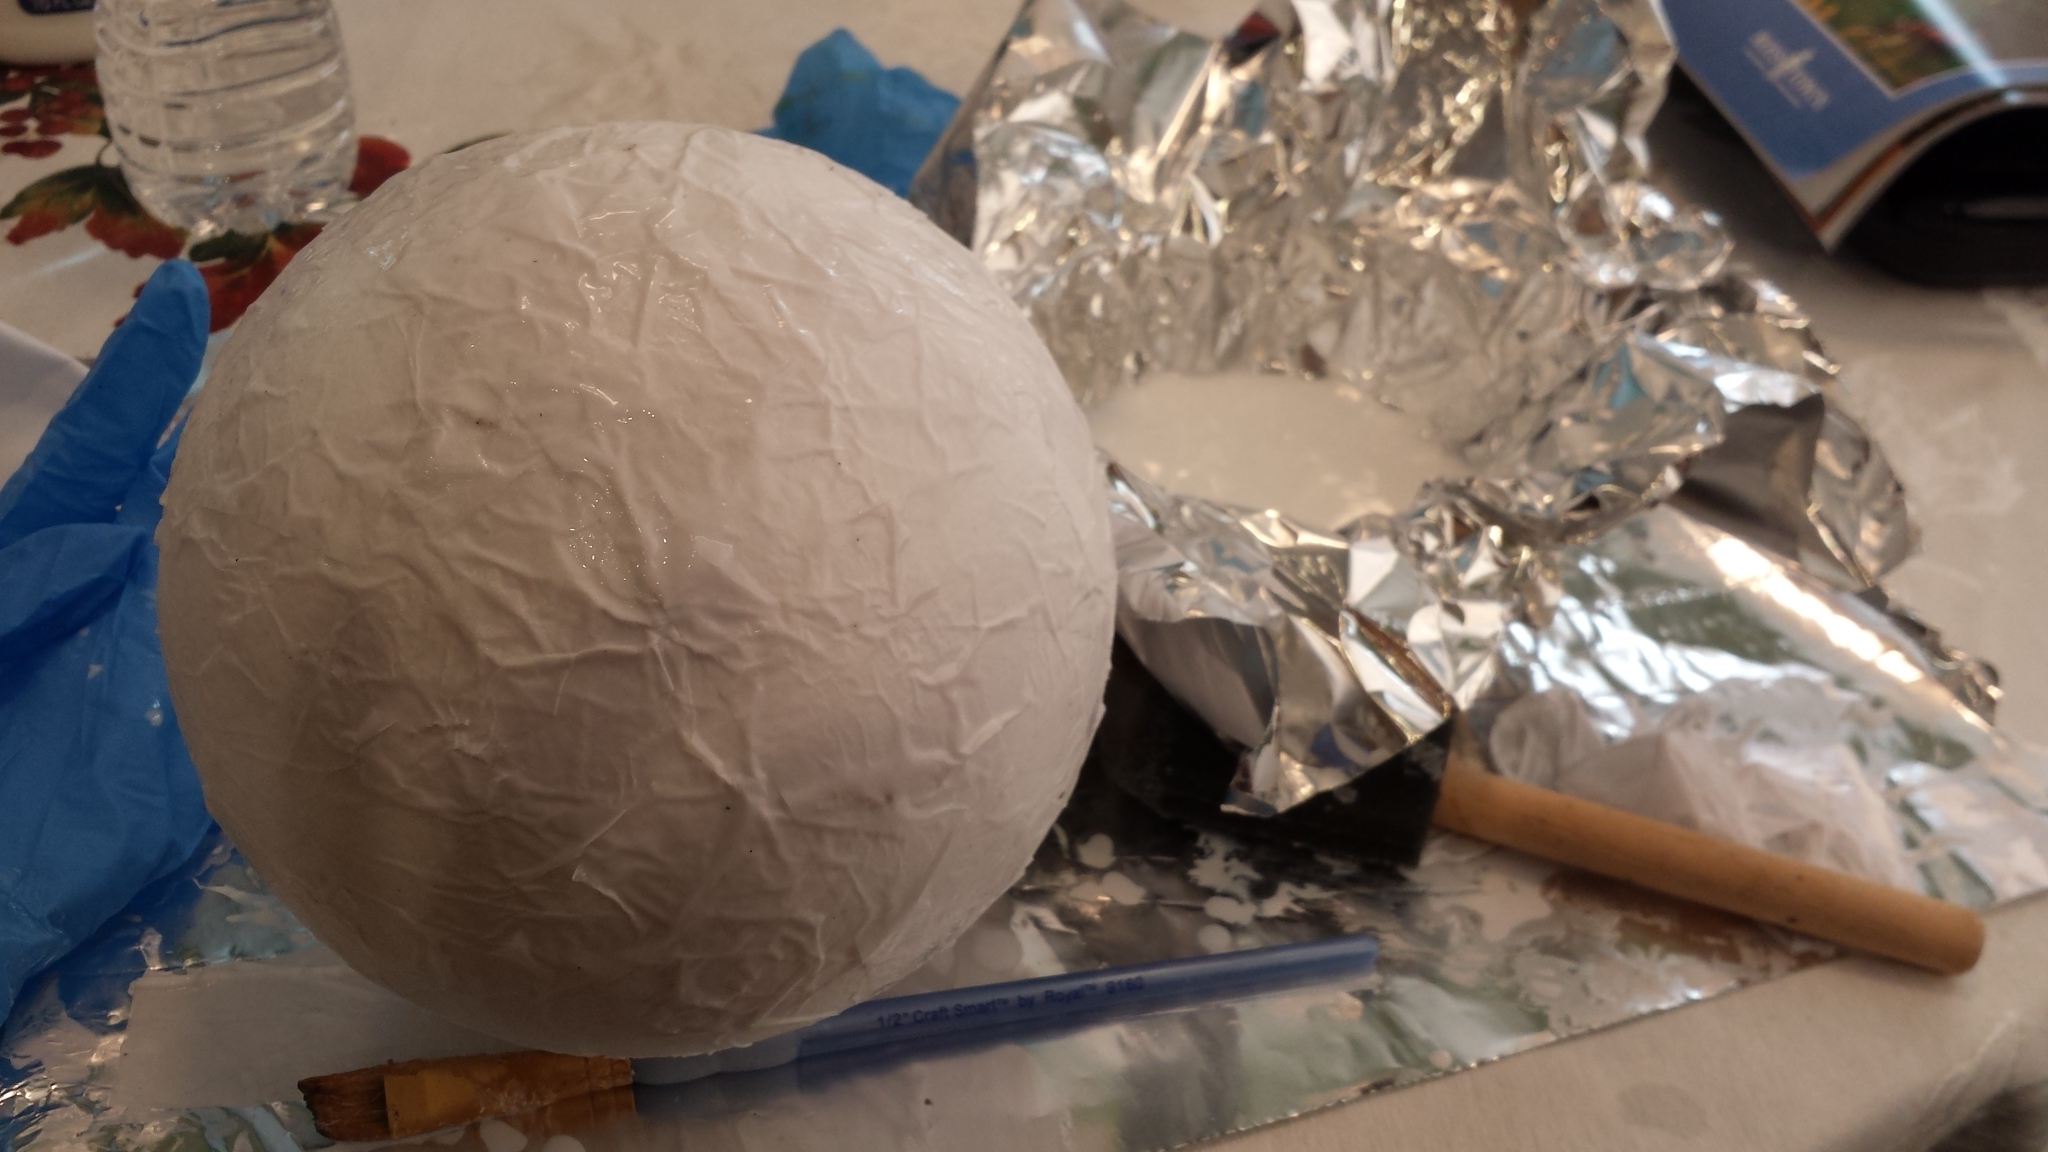
LOL! Nope. I made it worse. The ball’s surface became covered in buldged out veins and ridges. No problem. I turned them into bloodshot effects later. When the Papier Maché was dry a couple days later, I went over the ridges with a red pencil. It’s not obvious from even a couple feet away, only at close examination.

I needed to mount the eyeball to the clear ornament, but I couldn’t take two spheres and balance them and glue them in place. I decided to chop off the top of the ornament with my Dremel. It was much easier than using it on the branch.
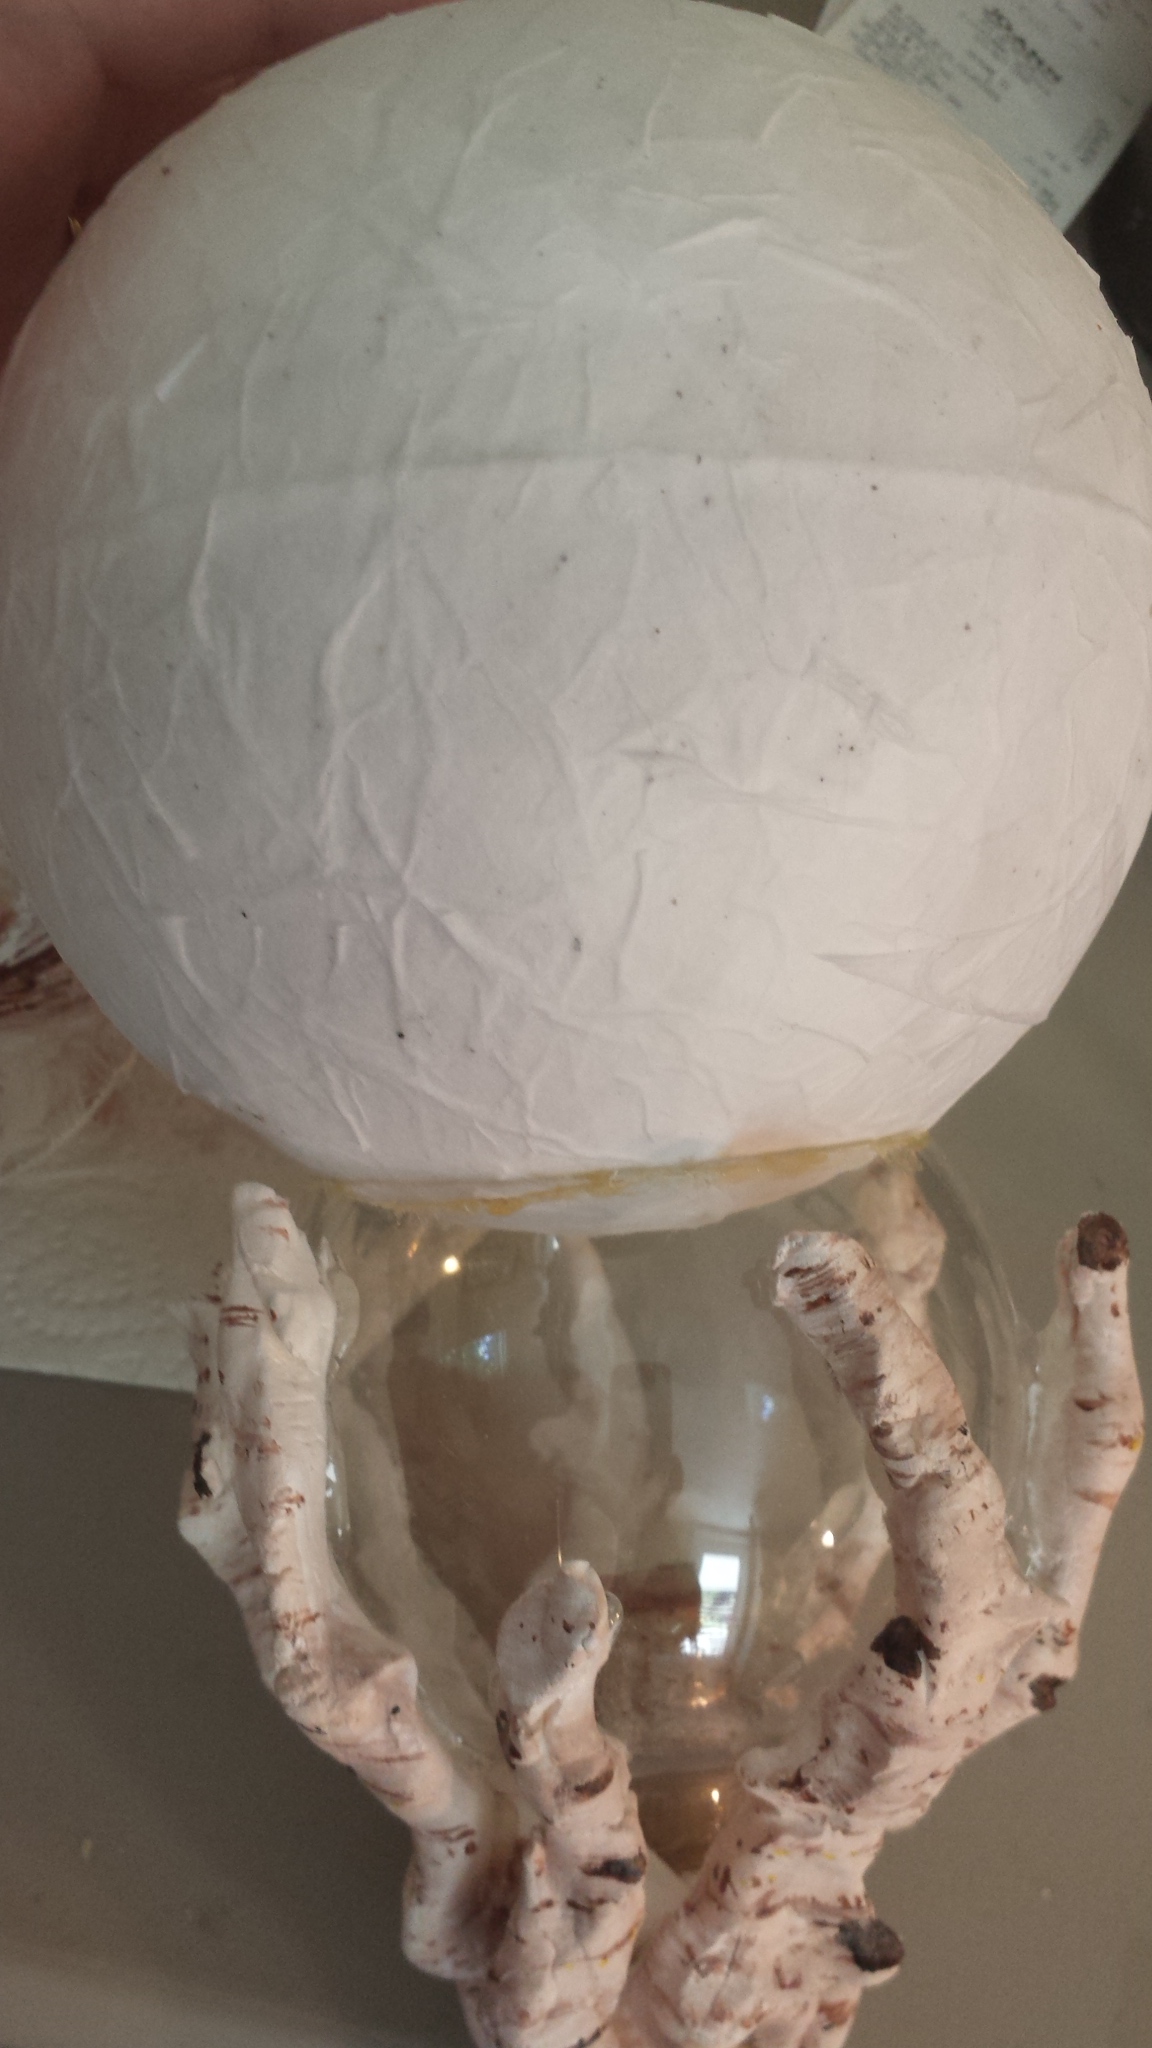
Another mistake happened. The contact cement is stronger and secures in an easier way than hot glue, but it’s not clear. So I had this first gunked up seam of cement in its ugly yellowish brown color. And it wasn’t even gooped on there enough to hold the eyeball in place so I still had to resort to a thick application of hot glue.
The result of the globs of glue wasn’t appealing. I could’ve left it and excused it as a prop I’ll use once, but instead I wanted to try and cover it up. I’d resolve that later.
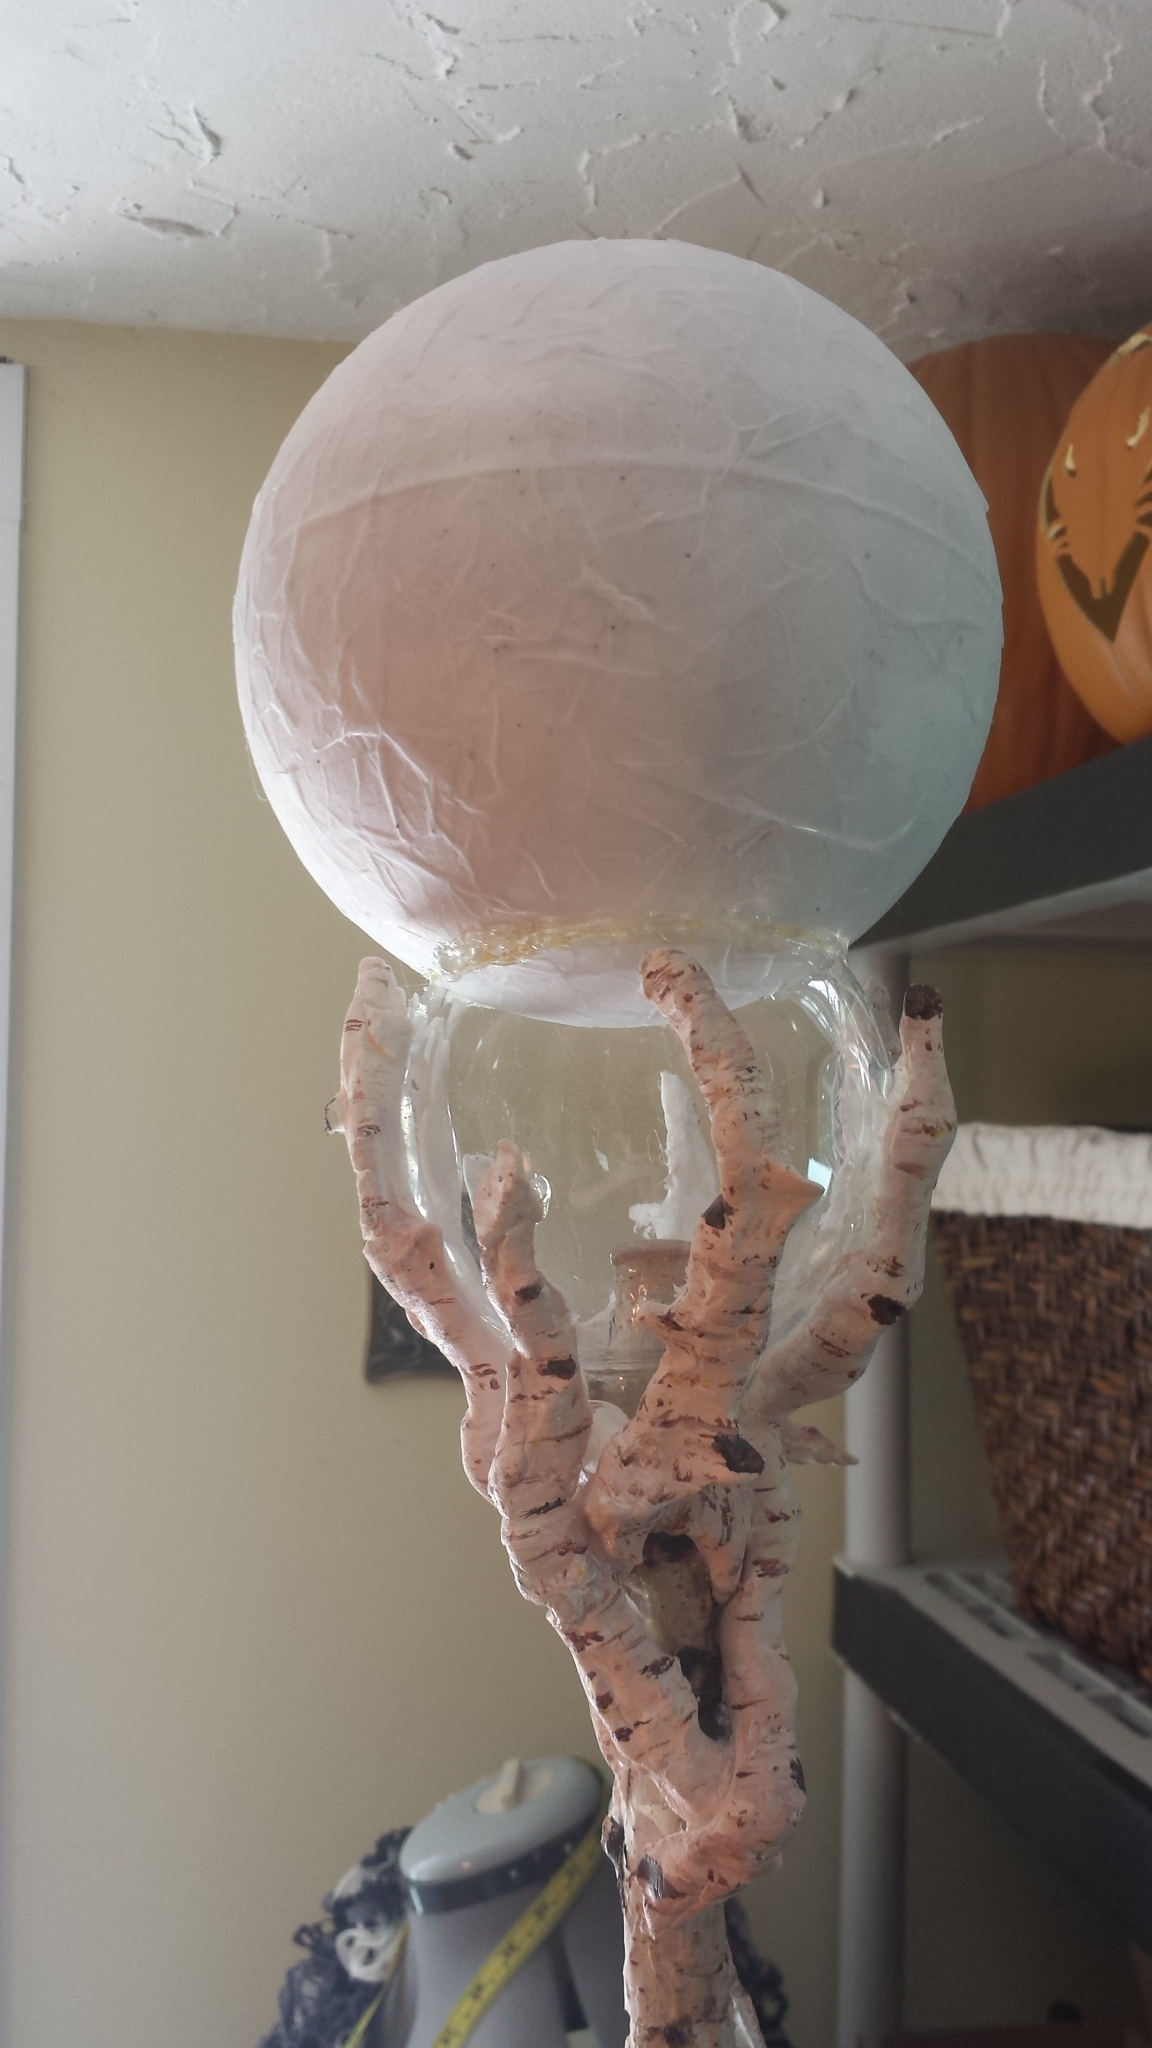
It was time to paint the eye onto the styrofoam ball. I have no idea why I thought the iris was blue. I bought blue paint just for this. Then after I was all done, I looked back at Queen Neva’s pages and see that it’s magenta. Dammit. Oh well. The Eye of Shadows in my fan version is now blue.

To fix the ring of messy glue that was now visible, I had to alter my plan. I was planning to apply a few small pieces of moss around the branches. Instead I used a lot of moss to cover up the clear ornament completely. It was supposed to look like the branches crowning the top of the staff balanced the hovering eyeball. Instead, the eyeball is cradled into a mossy and twiggy nest. In the end, I think it looks magical and fantastical anyway, even if it doesn’t match the original design.